When I first hopped on a static bike at my local gym, I stared blankly at the digital display showing watts, RPM, and heart rate zones – it felt like decoding a foreign language. I've since learned that these metrics aren't just random numbers; they're powerful tools that can transform an ordinary cycling session into a precisely targeted workout. Whether you're aiming to boost endurance, shed pounds, or improve your overall fitness, understanding these measurements is essential. Let me show you how these numbers can define your success and help you achieve your fitness goals faster.
Some of the links in this article may be affiliate links. If you make a purchase through these links, we may earn a small commission at no extra cost to you. Thank you.
Key Takeaways
- Power output measured in watts directly reflects workout intensity and energy expenditure during static bike training.
- Heart rate monitoring tracks cardiovascular response and helps maintain correct training zones for optimal results.
- Cadence measurement between 70-100 RPM indicates pedaling efficiency and overall cycling form.
- Resistance levels determine workout difficulty and enable proper execution of interval training sessions.
- FTP zones guide intensity levels across different training purposes, from recovery to high-intensity intervals.
The Power of Watts
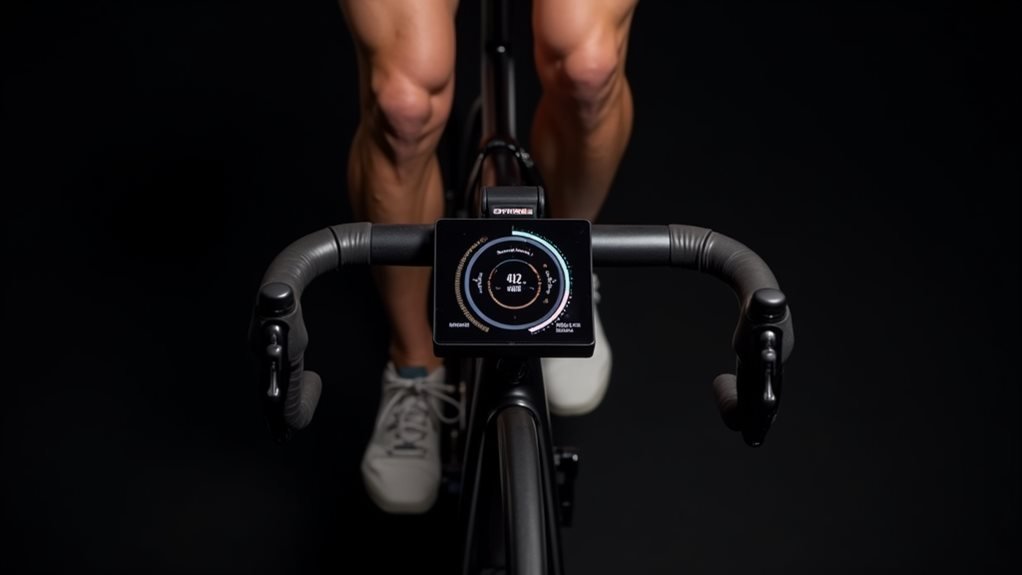
Power output, measured in watts, is one of the most reliable metrics you'll encounter on a stationary bike. Unlike heart rate, which fluctuates with stress or caffeine, watts tell you exactly how much work you're doing. I'll tell you why this matters: when you're pushing those pedals, every watt represents real energy expenditure – no confusion, no ambiguity.
Let me break this down for you. Your watts increase through two main factors: how fast you're pedaling (cadence) and how much resistance you're pushing against. It's beautifully simple math – more speed or more resistance equals higher watts. Drag forces and resistance significantly impact cycling performance, making precise power measurement crucial. The relationship between power and speed is non-linear in nature, making accurate tracking essential. Using modern power meters, you can track your kilojoules burned with remarkable precision.
And here's the kicker: watts don't lie. Whether you're on a basic spin bike or a high-tech Peloton, a watt is a watt.
I love using watts because they're universal. Want to compare yourself to other riders? Normalize watts by body weight. Need to track progress? Watch your average power output climb over time. With modern bikes equipped with power meters, you'll get real-time feedback that's precise and actionable. Trust me, once you start training with watts, you'll never look back.
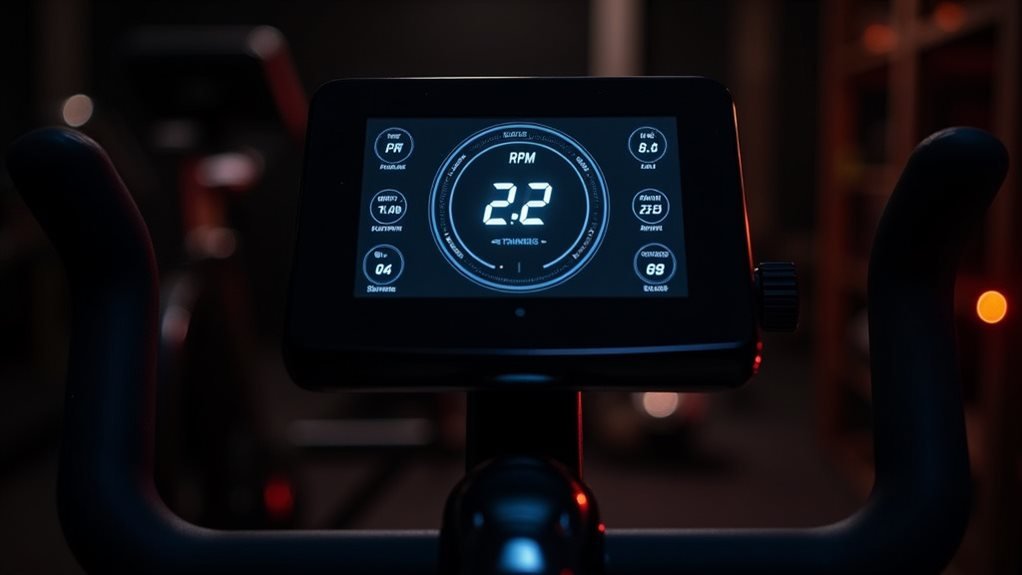
Mastering Your Pedal Speed
On every stationary bike ride, your pedal speed (or cadence) plays an important role in your overall performance. I'll tell you right now: if you're not monitoring your RPM (revolutions per minute), you're missing out on vital performance data. Your pedal speed isn't just some random number – it's a direct indicator of your fitness level and power output. Late 19th century cyclists first popularized tracking pedal speed metrics in France. Magnetic resistance bikes offer a smooth way to track and maintain consistent cadence during indoor cycling.
Let's get specific. You'll want to aim for 70-100 RPM for peak performance. If you're new to this, start at 70-90 RPM – trust me, your legs will thank you. Once you've built up your strength, you can push it higher. I've seen numerous cyclists improve their performance simply by maintaining the right cadence. Tracking your metrics helps establish realistic training goals.
Here's the deal: I want you tracking your pedal speed every single ride. Get yourself a cycling computer or cadence sensor – they're essential tools for serious training. Monitor your numbers in real-time and adjust accordingly.
Watch how your cadence trends over time, and you'll see your fitness improvements clear as day. Remember, higher isn't always better – it's about finding your sweet spot and consistently hitting it.
Finding Your Perfect Resistance
There are three key factors when determining your ideal resistance level: your fitness goals, cycling experience, and the type of workout you're doing. I'll help you crack this code – and trust me, it's simpler than you think.
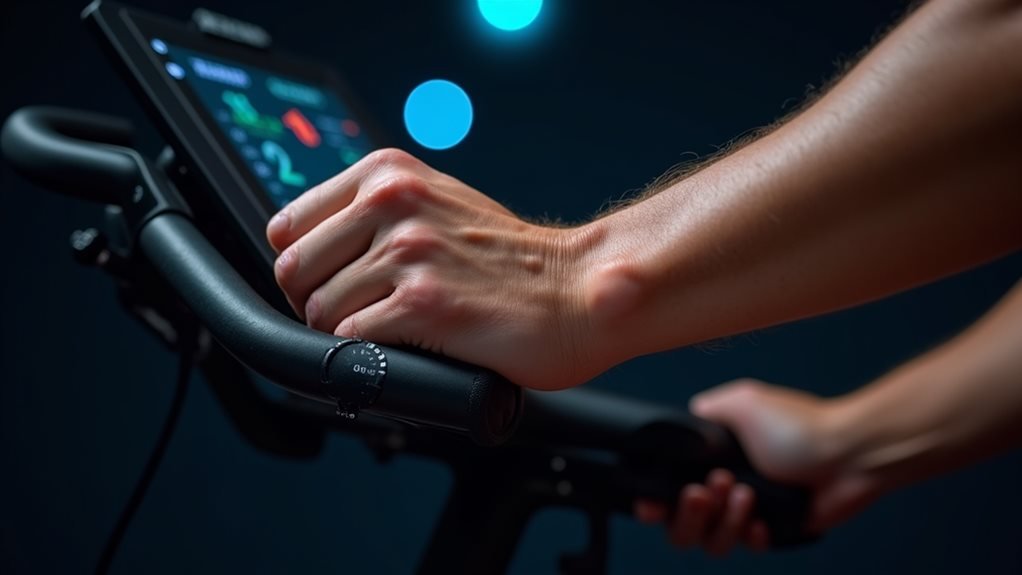
Using apps with different bikes, you'll want to focus on your rate of perceived exertion rather than exact resistance numbers. If you're using magnetic resistance (my personal favorite), you'll get precise, numbered levels to work with. It's quiet, smooth, and perfect for tracking your progress. Modern spinning bikes typically feature this resistance type. But if you're on a friction-resistance bike, don't sweat it – you'll develop an intuitive feel for the resistance by adjusting that knob until it feels right. Adjustable resistance levels are crucial for customizing your workout intensity and targeting specific fitness goals.
Here's my foolproof method: Start low and gradually increase resistance until you feel challenged but can maintain proper form. Watch your RPE (Rate of Perceived Exertion) – if you're gasping for air or your form's falling apart, dial it back.
For beginners, I recommend staying in the lower third of your bike's resistance range. Advanced riders? You can push it higher, but remember: more isn't always better. The sweet spot is where you can maintain your target cadence while feeling the burn. And yes, that spot will change depending on whether you're doing hills, sprints, or endurance work.
Core Training Intervals
Now that you've found your ideal resistance level, let's harness the full potential of your static bike with core training intervals. I'll show you how to structure your intervals for maximum efficiency. Start with a 5-minute warm-up at moderate intensity – trust me, your muscles will thank you later. Research has proven that HIIT burns calories more efficiently than steady-state cardio.
For beginners, I recommend the basic 30:60 interval structure – that's 30 seconds of high-intensity work followed by 60 seconds of recovery. As you progress, we'll shift to more challenging patterns. Sydney's training approach includes 45-second intervals for advanced cyclists seeking greater endurance.
I've found the 8:12 protocol particularly effective: 8 seconds of all-out effort, 12 seconds of active recovery, repeated 30 times.
- Start with 2-3 HIIT sessions weekly – anything more and you're flirting with burnout
- Monitor your heart rate zones – sprint in zones 4-5, recover in zones 2-3
- Progress by reducing recovery time, not by adding more high-intensity segments
- Always complete your 5-minute cool-down, even when you're tempted to skip it
Tracking Your Heart Performance
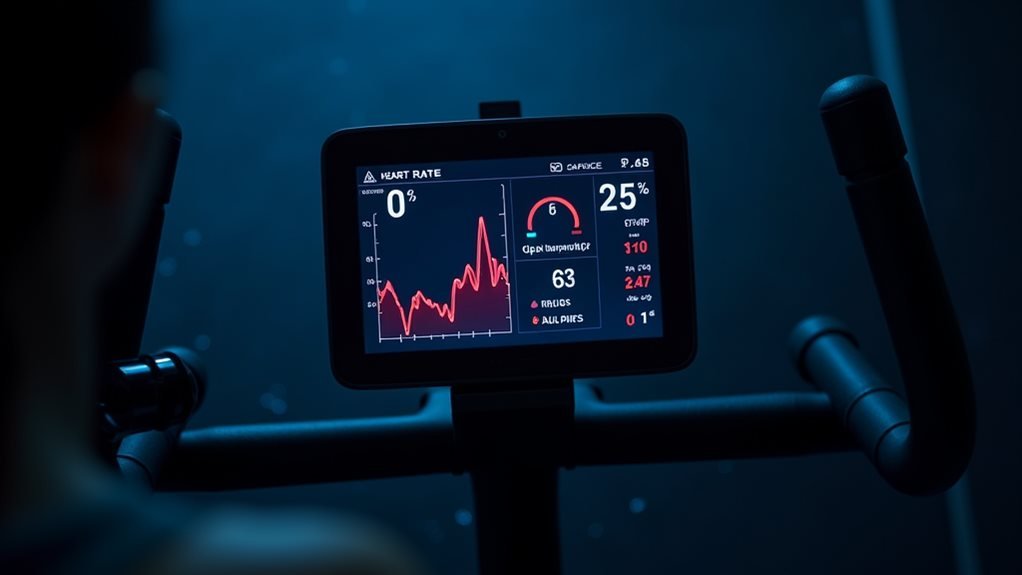
Many cyclists overlook heart rate monitoring, but I consider it essential for optimizing your static bike workouts. I'll tell you why: your heart rate reveals whether you're training in the right zone and if your body's actually adapting to the workload. It's like having a built-in coach that never lies.
Here's what I want you to know: your heart rate isn't just a number. It's telling you whether you're building aerobic endurance or pushing into anaerobic territory. But don't get too hung up on the exact numbers – they're affected by everything from your morning coffee to last night's sleep. Understanding your heart rate variability data can help you better manage physical fatigue and optimize your training sessions. Your brain sends signals to the sinus node to regulate your heart rate during exercise.
I've learned to watch for specific signals. If your resting heart rate's creeping up or you're not hitting your usual training zones, you're probably overtraining. And don't trust those wrist sensors completely – they're notoriously finicky during cycling. Get yourself a chest strap if you're serious about accuracy.
Remember this: there's a lag between when you start pushing and when your heart rate catches up. That's why I combine heart rate data with perceived effort and power output for the complete picture.
Understanding FTP Training Zones
Heart rate monitoring gives us valuable insights, but power-based training through FTP (Functional Threshold Power) zones takes your indoor cycling to the next level. I'll show you how to leverage these zones for maximum performance gains. Your FTP score, calculated at 95% of your 20-minute all-out test effort, reveals precise training intensities that heart rate alone can't match.
Let's break down the key training zones you'll use:
- Zone 1 (0-55% FTP): Your recovery sweet spot. Use it between hard sessions to stay fresh.
- Zone 2 (56-75% FTP): Your endurance builder. This is where you'll spend most training time.
- Zone 3 (76-90% FTP): The tempo zone. Perfect for building sustainable power.
- Zone 4 (91-95% FTP): The threshold zone. This is where breakthroughs happen.
I want you focusing on Zone 2 for base fitness – it's where the magic happens for fat burning and aerobic development. When you're ready to push limits, Zone 4 intervals will significantly boost your lactate threshold. Remember: you can't manipulate power numbers. They'll tell you precisely where you stand and what you need to improve.
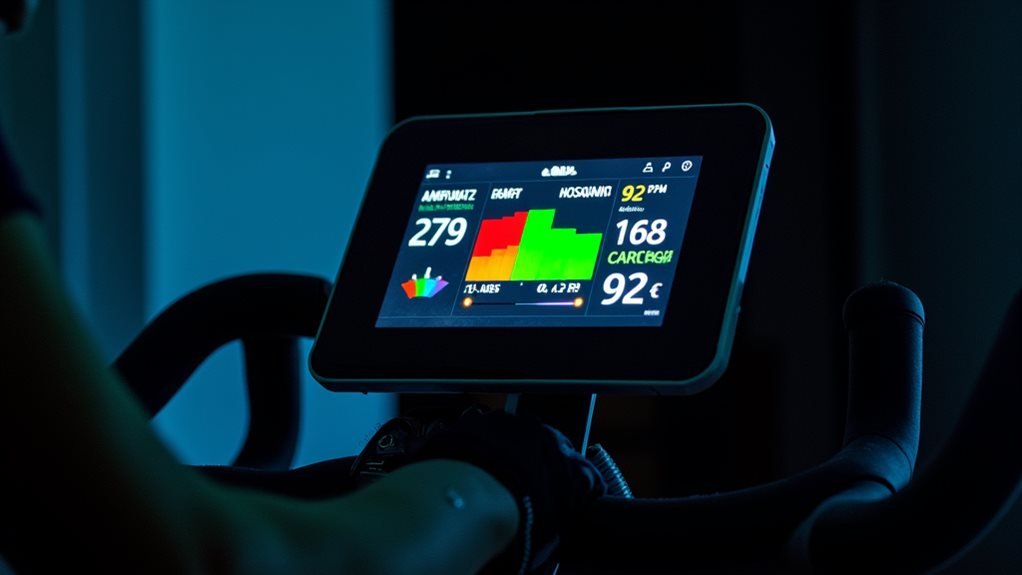
Setting Up Your Metrics
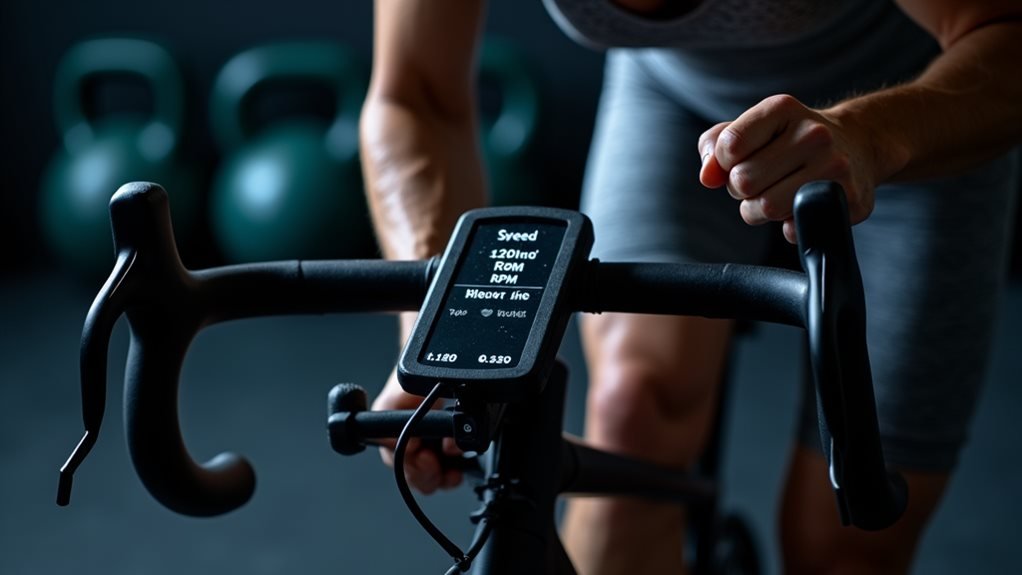
Setting up your bike metrics correctly is essential for tracking progress and optimizing your indoor cycling workouts. I'll help you get each metric configured for maximum benefit.
Let's start with power – it's your most objective measurement, showing watts produced in real-time. Unlike heart rate, it won't lie to you after that triple espresso.
Speaking of heart rate, you'll want a reliable monitor (chest strap or armband) to track your zones, but remember: stress and sleep can skew these numbers.
Cadence is next – aim for 80-110 RPM on flats and 60-80 RPM on hills. I always tell my riders: if your numbers are jumping around like a caffeinated kangaroo, smooth out those pedal strokes.
Your resistance metrics matter too; master that micro-adjustable knob because it's your best friend for interval training.
Your console should display all these metrics simultaneously. I recommend prioritizing power and cadence on your main screen, with heart rate and resistance readily visible. Think of it as your cockpit – everything you need to pilot your workout is right there, helping you make split-second intensity adjustments.
Frequently Asked Questions
How Do Bike Metrics Compare Between Different Indoor Cycling Bike Brands?
I've found that while most bikes track basics like speed and distance, premium brands like Peloton and NordicTrack offer advanced metrics including power output, heart rate, and detailed performance analytics.
Can Outdoor Cyclists Rely on Indoor Bike Metrics for Training?
I'd say you can rely on indoor metrics, but expect some variation outdoors. Indoor power numbers tend to be more consistent, while outdoor riding involves variables like wind and terrain.
Do Bike Metrics Change Depending on Rider Weight and Height?
I can confirm that bike metrics definitely change with your weight and height since these factors affect your power output, aerodynamic profile, and overall performance capabilities.
How Often Should Metrics Be Recalibrated for Accuracy?
I recommend checking your bike's metrics monthly, but you'll only need recalibration if you notice significant discrepancies. For Bike+, auto-calibration handles this automatically during each ride.
What Metrics Should Beginners Focus on First When Starting Indoor Cycling?
I recommend focusing on cadence and RPE first – they're simple to understand and require no special equipment. Once you're comfortable, add heart rate monitoring for better training guidance.