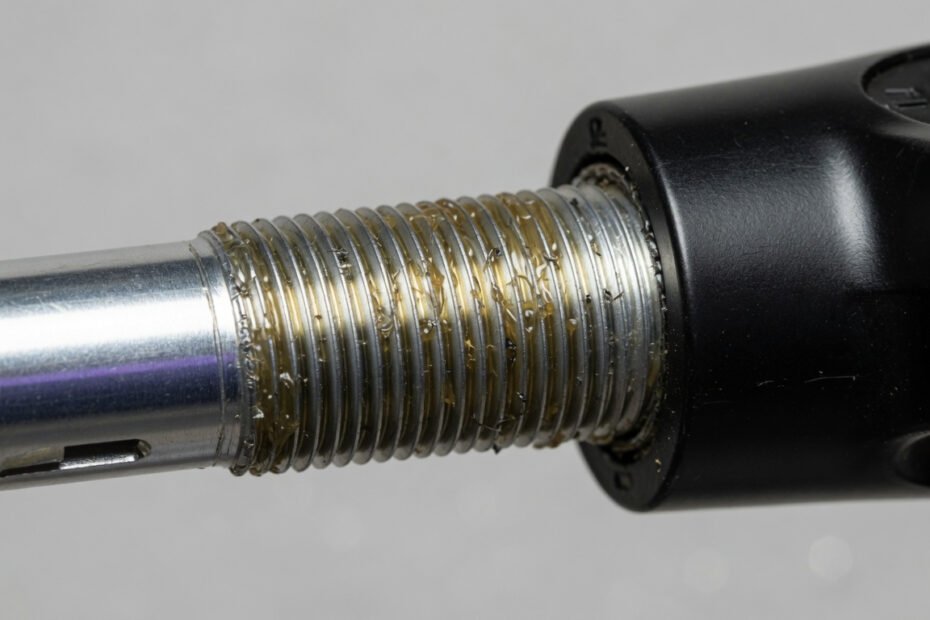
Your exercise bike makes noise when pedaling because of one of seven fixable problems — loose pedals, worn bearings, dry moving parts, debris buildup, a loose crank arm, drive system wear, or a flywheel issue. The good news? Most fixes take 10–15 minutes with basic tools you likely already own.
Some of the links in this article may be affiliate links. If you make a purchase through these links, we may earn a small commission at no extra cost to you. Thank you.
That rhythmic squeak or grinding groan can derail even the most determined workout session. One moment you’re crushing a hill climb, the next you’re wincing at every pedal rotation. The frustrating part is that the fix is almost always simpler than the noise suggests — and you rarely need to call a technician to sort it out.

Key Takeaways
- Loose pedals and insufficient lubrication account for the vast majority of exercise bike noise complaints.
- Most noise issues resolve in under 15 minutes with a pedal wrench, Allen key, and lubricant.
- Ignoring bike noise accelerates wear on bearings, crank arms, and drive components — leading to significantly more expensive repairs down the line.
- A simple monthly maintenance routine prevents virtually all common noise problems from developing in the first place.
What Type of Noise Is Your Exercise Bike Making?
Not all exercise bike noises are created equal. The type of sound you’re hearing is usually the clearest clue to the underlying problem. A squeaking noise typically points to friction between dry metal surfaces — pedal threads, crank interfaces, or bearings that haven’t seen lubricant in a while. A clicking or ticking sound that syncs with each pedal rotation usually means something is loose — most often a pedal bolt or crank arm. A grinding noise suggests worn bearings or debris caught in a moving component. And a rhythmic knocking that gets louder as you increase resistance often signals a flywheel or drive system issue.
Diagnosing the sound correctly saves you time. Listen carefully during your next ride — note whether the noise happens on both pedal strokes or just one, whether it intensifies as you increase resistance, and whether it’s coming from the pedals, the crank area, or deeper inside the bike’s housing.
A quick spin-test with the bike stationary also helps: sit on the bike, pedal slowly, and gently rock the pedals side to side. Any play or movement at the pedal-crank connection is a strong indicator of looseness — and a clear signal of where to start your investigation.
The 7 Most Common Reasons Your Exercise Bike Makes Noise When Pedaling
1. Loose Pedals or Pedal Threads
This is the single most common cause of exercise bike noise — and the easiest to fix. Pedal bolts work themselves loose over time through the repeated rotation and vibration of normal use. Once the connection between the pedal and the crank arm has any play in it, you get that telltale metal-on-metal clicking with every rotation.
One important detail that trips up a lot of people: the left pedal has a reverse (left-hand) thread. To tighten it, you turn it clockwise — the opposite of the right pedal. Getting this backwards is one of the most common causes of cross-threading and stripped pedal threads. If you want a complete walkthrough of this specific repair, this step-by-step guide to fixing noisy exercise bike pedals covers the full process in about ten minutes flat.
2. Worn or Dry Bottom Bracket Bearings
The bottom bracket sits at the heart of the pedaling system — it’s the bearing assembly that allows the crankshaft to spin smoothly. When these bearings dry out or wear down, you’ll typically hear a creaking or grinding sound that comes from the centre of the bike rather than the pedal itself. Bearings don’t last forever, especially on bikes that see daily use without regular maintenance. On well-used bikes, bottom bracket bearings generally need attention every two to four years depending on how much the bike sees and whether it’s been lubricated properly along the way.
3. Insufficient Lubrication on Moving Parts
Metal parts moving against metal without lubrication is a recipe for noise — and eventual damage. Pedal threads, crank arm interfaces, the seat post, and handlebar adjustment points all need periodic lubrication to stay quiet. A light application of a penetrating lubricant like WD-40 is a solid starting point for cleaning and freeing seized threads, though for long-term protection, a purpose-made bike grease applied to threaded components outperforms a spray lubricant on its own.
4. Debris and Dirt Buildup
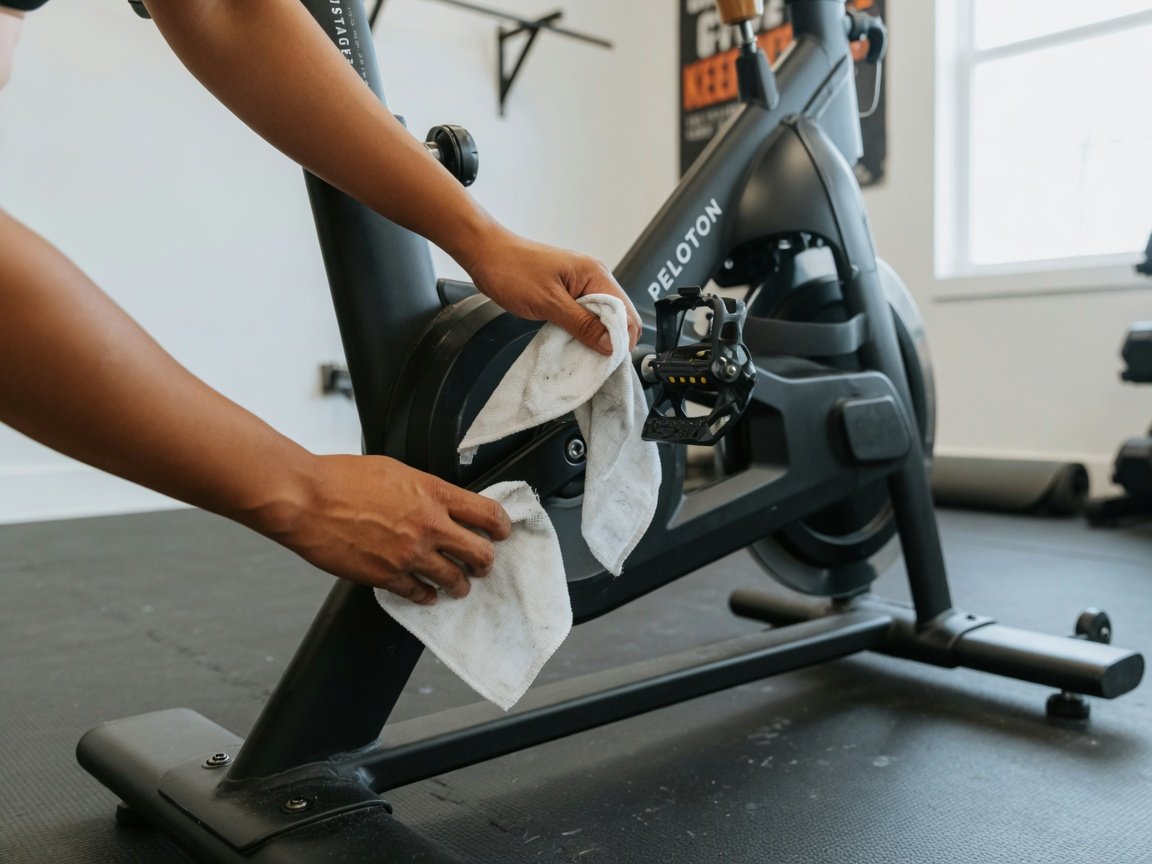
Sweat, dust, and hair accumulate in the pedal and crank areas faster than most people expect. This buildup acts like fine-grit sandpaper on moving parts — creating friction that generates noise and accelerates wear. Even a thin film of grime sitting in a pedal thread groove creates enough resistance to produce a squeak. Regular wiping-down of the pedal area after each session makes a noticeable difference in how long your bike stays quiet between services.
5. Loose Crank Arms
The crank arms are the levers that attach to the crankshaft and hold the pedals. If the crank arm bolt — typically an 8mm Allen bolt — works loose, the arm develops slight movement on the spindle. This produces a pronounced creak or knock that intensifies under load. Many riders mistake this for a pedal problem because the crank and pedal are so close together. A simple tug test — try to pull the crank arm sideways away from the bike — will reveal any looseness immediately.
6. Belt or Chain Drive Issues
The drive system — whether your bike uses a belt or a chain — can generate significant noise when worn, stretched, or running dry. A chain drive that needs lubrication or has stretched beyond its serviceable limit produces a rhythmic slapping or rattling sound from inside the housing. A belt drive that has become misaligned or cracked creates a slipping or squealing noise under load. If you’re unsure which system your bike uses, this comparison of belt drive vs chain drive noise explains the differences clearly and helps you identify what you’re working with before you start pulling panels off.
7. Flywheel or Resistance System Problems
The flywheel is the weighted disc that gives indoor cycling its smooth, momentum-based feel. If you hear noise that increases noticeably when you dial up the resistance, the issue is likely here rather than at the pedals. Magnetic resistance bikes can develop a grinding sound if the magnet housing shifts out of alignment. Friction-resistance bikes may squeal if the resistance pad wears unevenly. Unlike pedal and crank noise, flywheel issues are harder to address at home — but they’re worth identifying early so they don’t become a bigger structural problem.
Tools You’ll Need Before You Start
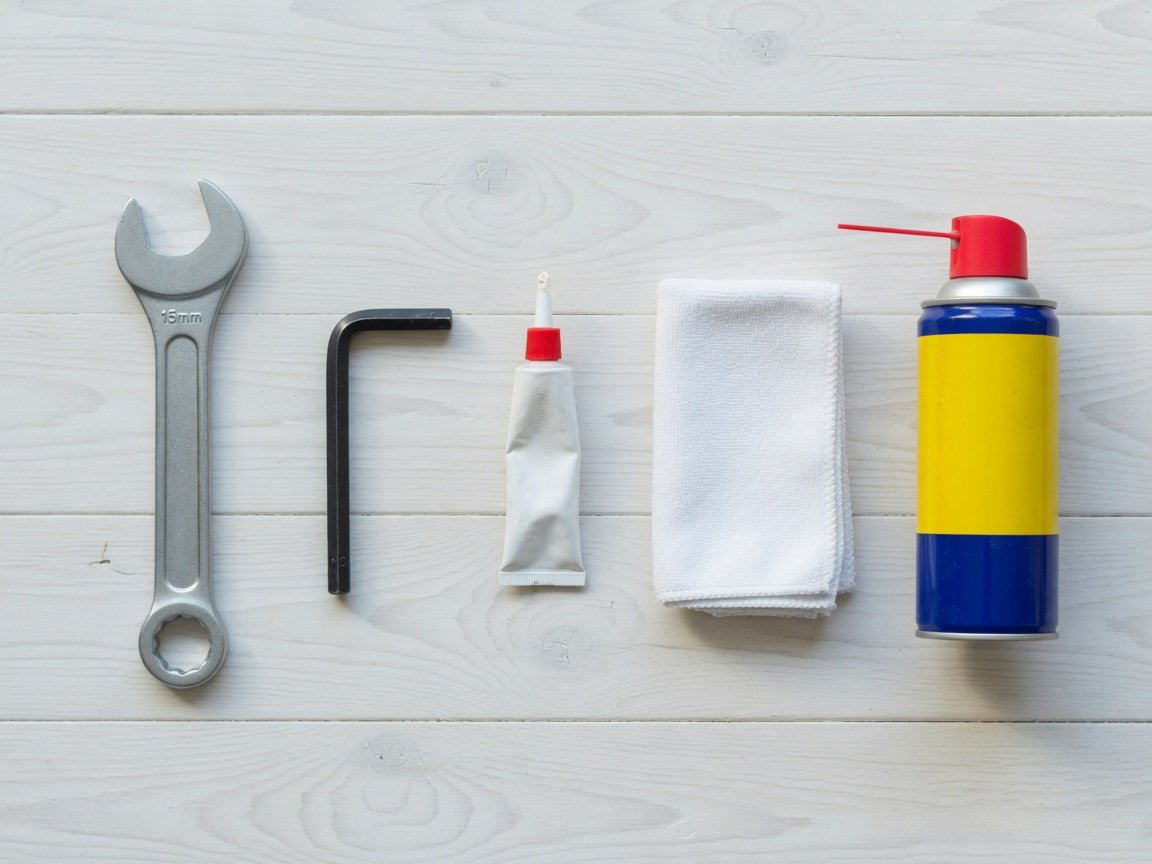
You don’t need a workshop to fix a noisy exercise bike. Most repairs call for a small kit of common tools, and none of them require specialist knowledge to use effectively.
| Tool | What It’s For | Difficulty |
|---|---|---|
| Pedal wrench (15mm) | Tightening or removing pedals | Easy |
| Allen key set (6mm, 8mm) | Crank arm bolts and bracket access | Easy |
| Torque wrench | Achieving correct bolt tension (35–40 Nm for pedals) | Moderate |
| Penetrating lubricant (WD-40) | Initial cleaning and light lubrication of threads | Easy |
| Bike grease or chain lube | Long-term protection on threads and bearings | Easy |
| Clean cloths or microfibre towels | Wiping down parts before and after work | Easy |
| Soft brush | Clearing debris from grooves and threads | Easy |
A torque wrench is optional but genuinely worth having. Getting pedal tension right — the standard manufacturer recommendation sits between 35 and 40 Nm — prevents both noise and the safety risk of a pedal working loose mid-ride. Most other fixes need nothing beyond what’s already in an average home toolkit.
Step-by-Step: How to Fix a Noisy Exercise Bike
Work through these steps in order. Many noise problems are resolved at step one or two, so there’s no need to dismantle everything at once. Start simple, test after each step, and only move forward if the noise persists.
Step 1: Tighten the Pedals
- Remove the pedals using your pedal wrench — turn the right pedal anti-clockwise to remove, and the left pedal clockwise (left pedal has a reverse thread).
- Inspect the threads on both the pedal spindle and the crank arm. Look for debris, cross-threading, or visible wear.
- Clean the threads with a cloth and apply a small amount of bike grease.
- Reinstall the pedals by hand first. If you feel resistance before the pedal is fully seated, stop and realign — never force a pedal into a thread.
- Tighten to 35–40 Nm with a torque wrench, or firmly snug with a standard pedal wrench.
- Get back on the bike and test at low resistance. If the clicking has stopped, you’re done.
Step 2: Check and Tighten the Crank Arms
- Locate the crank arm bolt — it’s typically concealed under a dust cap at the end of the crank arm.
- Prise off the dust cap gently with a flat-head screwdriver.
- Use an 8mm Allen key to tighten the bolt firmly clockwise.
- Replace the dust cap, then do a side-to-side pull test on the crank arm to confirm there’s no remaining play.
Step 3: Lubricate the Right Parts
- Apply a light coat of penetrating lubricant to the pedal threads and let it sit for two minutes.
- Wipe away any excess — leaving too much lubricant on the threads attracts dirt and creates new problems long-term.
- Apply a small drop of chain lube to the chain (if your bike has one), then run the pedals to distribute it evenly along the full length.
- Avoid lubricating brake pads, resistance pads, or the flywheel braking surface — lubricant in those areas causes slipping and can damage the resistance system.
Step 4: Clean Out Debris
- Use a soft brush to clear debris from pedal threads, crank arm joints, and any grooves around the bottom bracket.
- Wipe the entire pedal and crank area with a damp cloth.
- If you can access the bottom bracket housing, a quick blast with compressed air clears dust that a cloth can’t reach.
- Follow the clean with a light lubrication pass to prevent friction from returning quickly.
Step 5: Inspect the Drive System
- Remove the drive-side cover panel, usually held in by two or three Phillips screws.
- Inspect the belt or chain for visible wear, cracking, or stretching.
- For a chain: apply chain lube along the full length and reassemble. If the chain is visibly stretched or has stiff links, replacement is the better call.
- For a belt: check that it runs centred on both pulleys. A misaligned belt can often be corrected by adjusting the rear pulley tension bolt.
- Reassemble, take a test ride, and note whether the drive noise has reduced.
What Does Each Type of Noise Mean? A Quick-Reference Guide
Once you’ve worked through the steps above, you may still be trying to pinpoint a stubborn noise. This table ties specific sounds to their most likely causes, which helps you focus your attention without dismantling parts unnecessarily.
| Noise Type | When It Occurs | Most Likely Cause |
|---|---|---|
| Clicking / ticking | Every pedal rotation, both sides | Loose pedal bolt or crank arm |
| Clicking / ticking | One side only | One loose pedal or worn pedal bearing |
| Creaking | Under load — high resistance or standing | Loose crank arm, dry bottom bracket |
| Grinding | Continuous, worsens with speed | Worn bearings or debris inside a bearing |
| Squeaking | Light rhythmic squeak in time with pedaling | Dry pedal threads, dry seat post |
| Slapping / rattling | From inside the housing | Loose or worn chain, debris in housing |
| Squealing under resistance | When resistance level is increased | Worn friction pad, misaligned magnet |
| Knocking | Heavy, intermittent thuds | Loose flywheel bolt or damaged bearing |
If you’re hearing a persistent squeaking that doesn’t clear up after tightening and lubricating, this guide covering seven causes of exercise bike squeaking goes deeper into sources that are easy to miss during a standard inspection — including saddle rail creaking, which mimics pedal noise closely.
Belt Drive vs Chain Drive: Does the Type of Bike Matter?
Yes — the type of drive system your bike uses significantly affects how much noise it produces under normal conditions and what kind of maintenance it needs. Belt-drive bikes are inherently quieter than chain-drive models because the belt runs on smooth pulleys without the metal-to-metal contact that a chain involves. Belts also require no lubrication and typically have a longer service life before they need replacing.
Chain-drive bikes are louder by design, and they need regular lubrication to stay that way. A chain running dry or stretched past its usable limit will produce significantly more noise than a well-maintained one. The upside is that chains are cheap and straightforward to replace when they wear out — no specialist tools required.
If your bike’s drive noise is consistently bothering you and maintenance doesn’t fully resolve it, the drive type itself may be part of the answer — particularly if you’re cycling in a shared living space or need to work out early in the morning without disturbing anyone else.
When Should You Call a Professional?
DIY maintenance handles the vast majority of exercise bike noise problems. But there are situations where pushing forward yourself does more harm than good — or where the right fix genuinely requires specialist tools and knowledge.
Call a technician if:
- The noise persists after you’ve tightened all connections and lubricated all moving parts. This usually points to internal bearing damage that requires disassembly of the bottom bracket or flywheel housing — neither of which is a typical home repair.
- You can hear or feel a knocking inside the flywheel housing. A loose or damaged flywheel is a safety issue, not just a nuisance. Stop riding and get it inspected.
- The pedal threads are visibly stripped or cross-threaded. Re-tapping a thread or replacing a crank arm requires specialist tools that most home mechanics don’t have.
- Your bike is still under warranty. DIY repairs can void coverage, and many manufacturers offer free or low-cost servicing within the warranty period. Before opening anything up, it’s worth understanding what your warranty covers for common repair issues — you may be entitled to a professional fix at no cost.
A qualified technician can usually diagnose the root cause of a persistent noise in under 30 minutes. For most bike models, a service call costs considerably less than a replacement bike — and far less frustration than riding a noisy machine for months while the underlying problem gets worse.
How to Keep Your Exercise Bike Quiet Long-Term
Fixing the current noise is only half the job. Keeping it quiet long-term comes down to building a simple maintenance rhythm that takes about ten minutes per month — and costs nothing beyond a tube of grease.
- After every session: Wipe down the pedal and crank area with a dry cloth. Sweat is mildly corrosive — even a 30-second wipe-down makes a meaningful difference across hundreds of sessions.
- Every 2–4 weeks: Check pedal and crank arm bolt tension by hand. Tighten anything that has developed play before it becomes an audible problem.
- Monthly: Apply light lubrication to pedal threads, the seat post, and any handlebar adjustment points. Check the drive system — lubricate the chain or inspect the belt for cracking or wear.
- Every 6 months: Do a full inspection of all bolts, the drive system, and the resistance mechanism. Listen for any grinding while spinning the cranks slowly by hand — the earliest sign that bearings are beginning to go.
Good setup from the start also prevents a lot of noise from developing in the first place. If you’re setting up a new bike or repositioning an existing one, this quick setup guide walks through the assembly and adjustment steps that directly affect long-term noise levels and structural stability.
Frequently Asked Questions
Why does my exercise bike make noise when pedaling but only on one side?
One-sided noise almost always points to that specific pedal. The bolt may have worked loose, the pedal bearing may be worn, or the threads may be partially stripped. Start by removing and reinstalling that pedal with fresh grease on the threads. If the noise returns quickly, the pedal itself may need replacing — they’re relatively inexpensive and straightforward to swap out on most bikes.
Why does my exercise bike creak only when I push hard?
Noise that appears under load and disappears at easy effort is a classic symptom of a loose crank arm. When you push down hard, the arm flexes slightly on the spindle — and that movement creates the creak. Tightening the crank arm bolt (typically 8mm Allen) resolves this almost immediately. If the bolt is already tight, dry bottom bracket bearings are the next most likely culprit — they creak under the increased stress of higher resistance.
Can I use WD-40 on my exercise bike pedals?
Yes — WD-40 is a reasonable first step for cleaning seized threads and displacing moisture. That said, it’s a penetrating oil rather than a long-term lubricant, and it evaporates fairly quickly. Use it to clean and free up the threads first, then follow with a proper bike grease or lithium-based grease for lasting protection. Never apply any lubricant to brake or resistance pads.
How often should I lubricate my exercise bike?
For a bike used four to six times per week, monthly lubrication of the pedal threads and a drive system check is a solid baseline. If you’re using it daily or in a humid environment — sweat and moisture accelerate corrosion — a check every two weeks is better. Bearings rarely need external lubrication unless you’ve disassembled them, but an annual inspection to listen for grinding is good practice regardless.
Is a noisy exercise bike dangerous to use?
Most noises — squeaking, clicking, light creaking — are annoying rather than dangerous, and the bike is generally safe to keep using while you troubleshoot. The exception is a knocking sound from the flywheel housing or a pedal that has significant play in it. Both of those warrant stopping your workout until you’ve inspected the source. A flywheel issue in particular can be a structural safety concern and shouldn’t be ignored.
My exercise bike is brand new and already making noise — is that normal?
Light creaking from a new bike is not unusual — components settle during the first few sessions and bolts can work fractionally loose. A basic tighten-up of the pedal and crank bolts with fresh grease on the threads resolves most new-bike noise quickly. If the sound is loud, persistent, or involves any grinding, contact the retailer. A serious mechanical noise on a new bike may indicate an assembly defect that falls under the warranty — worth checking before you start taking things apart yourself.
The Bottom Line
A noisy exercise bike is almost always a maintenance problem rather than a structural one — and most maintenance problems are quick, low-cost fixes. Start with the pedals and crank arm bolts, move to lubrication and a debris clean, then work toward the drive system if the noise persists. For the majority of riders, the noise clears up before they’ve finished step two.
Build a monthly maintenance habit and you’ll likely never need to diagnose a noise problem again. Ten minutes a month keeps your bike running quietly, extends the life of every component, and — most importantly — lets you focus on your workout instead of whatever that sound is.