I've discovered that maximizing workout efficiency doesn't require hours on a static bike – it's all about smart training in concentrated bursts. As a cycling enthusiast who's tested countless training methods, I can tell you that 30-minute power sessions deliver remarkable results when structured correctly. Whether you're pressed for time or simply want to optimize your training, these focused workouts target specific power zones to boost your performance and cardiovascular fitness. There's a science behind making every minute count, and I'll show you exactly how to transform your static bike routine into a powerhouse of efficiency.
Some of the links in this article may be affiliate links. If you make a purchase through these links, we may earn a small commission at no extra cost to you. Thank you.
Key Takeaways
- Begin with a 5-minute warm-up at 60% effort, gradually increasing intensity to prepare muscles for high-intensity intervals.
- Structure your workout with alternating 2-minute high-intensity bursts at 88-94% FTP and 1-minute recovery periods.
- Monitor heart rate zones throughout the session to ensure optimal intensity and prevent overexertion.
- Include three sets of 8-minute progressive intervals, increasing resistance while maintaining consistent cadence.
- End with a 5-minute cooldown of easy spinning to promote recovery and prevent muscle soreness.
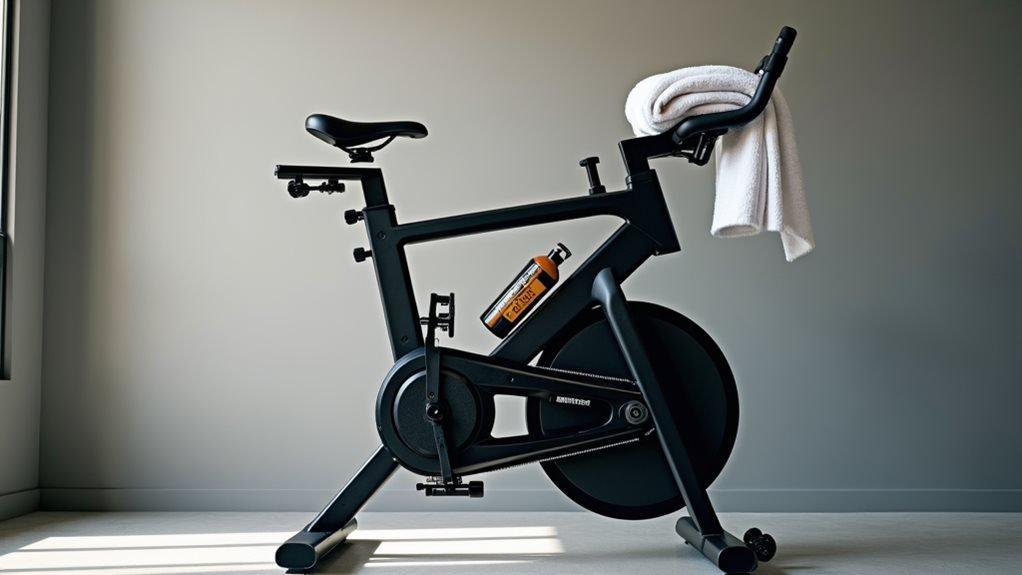
Why Choose Static Bike Training
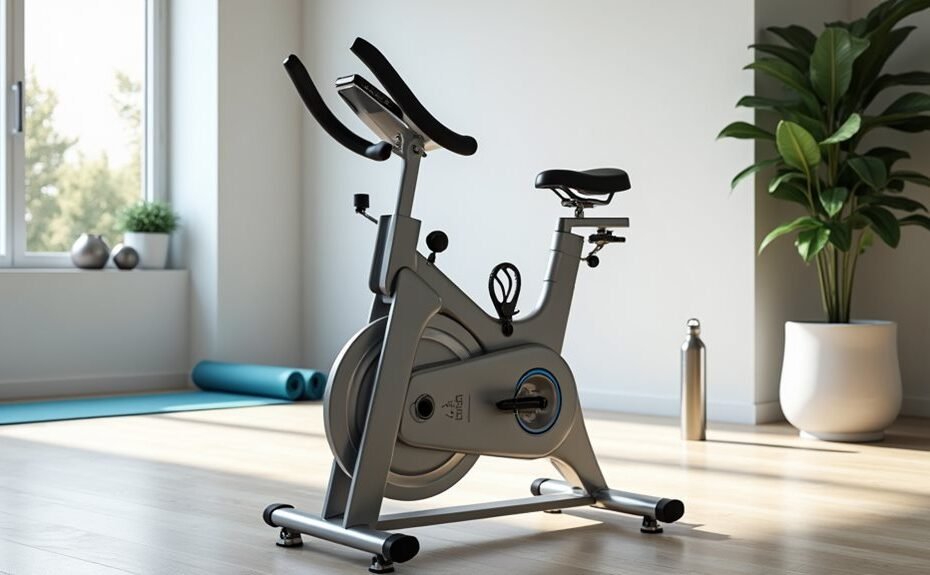
A static bike offers one of the most effective ways to improve your fitness while minimizing injury risk. I've seen countless clients achieve remarkable results because static bikes deliver a perfect storm of benefits – you'll torch calories, build strength, and boost your heart health, all while protecting your joints. That's efficiency you can't ignore.
Let's get real about why you should choose static bike training. First, you're looking at serious cardiovascular gains – we're talking improved heart function, better blood flow, and enhanced oxygen utilization. Low-impact cardiovascular exercise like indoor cycling can improve overall fitness for individuals of all ages and fitness levels. Your heart will thank you. The controlled environment means you can exercise safely regardless of weather conditions. Recent studies show that triglyceride levels decrease significantly with consistent indoor cycling.
Second, you'll build impressive lower body strength without destroying your knees. The bike's adjustable resistance lets you push hard without the impact of running.
Here's the kicker – you can burn up to 600 calories per hour, and your body keeps burning calories for up to 14 hours afterward. That's like getting paid overtime for work you've already finished. Plus, if you've got joint issues or you're recovering from injury, you'll still get a killer workout without the risk. It's simple math: maximum results, minimum wear and tear.
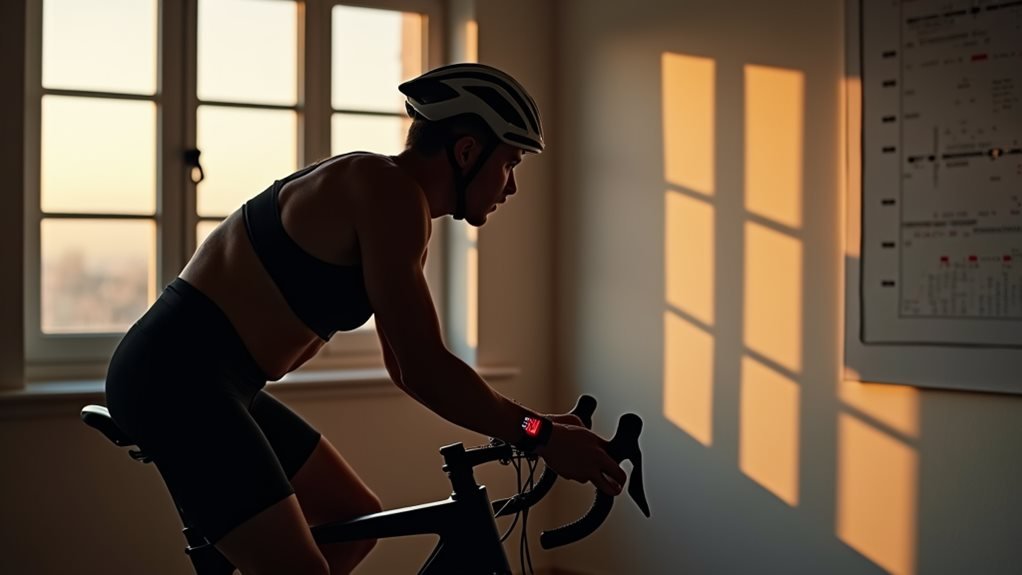
Setting Up Your Power Zone
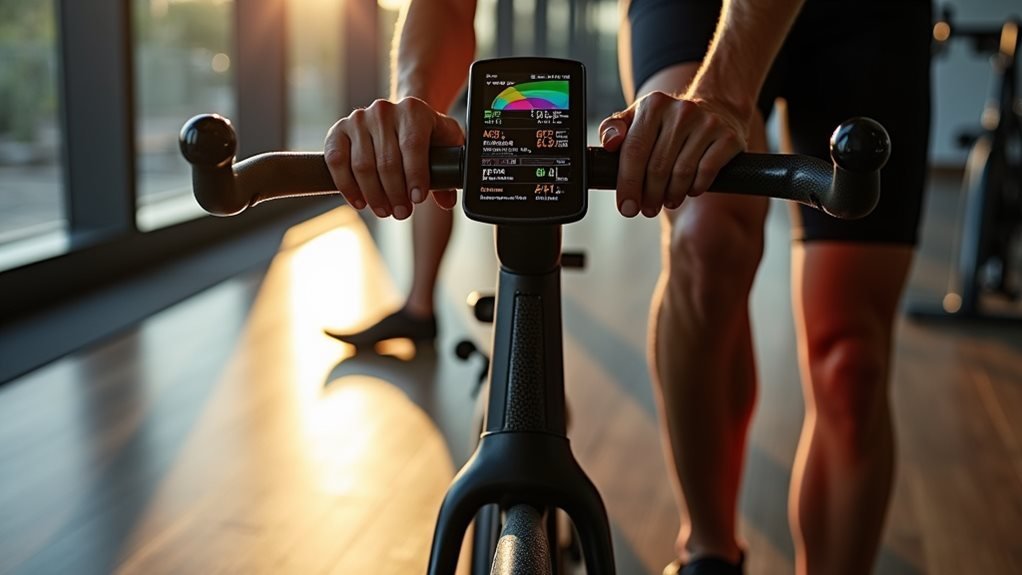
Inside every effective static bike workout lies a foundational element: your power zones. I'm going to show you how to set these up properly, and trust me, it'll transform your training efficiency. Both heart rate and power meters provide valuable data for training zone accuracy.
Let's start with your FTP – that's your Functional Threshold Power. You'll need to suffer through a 20-minute all-out effort (I know, not fun, but critical). Take your average power from that test, multiply it by 0.95, and boom – there's your FTP. Now we're cooking.
Here's where it gets interesting: your power zones cascade from that FTP number. You've got seven distinct zones, from cushy recovery rides below 55% FTP to lung-busting anaerobic efforts above 120%. The sweet spot (yes, that's actually what it's called) sits at 88-94% FTP – it's your goldmine for building power efficiently. Training in different zones throughout the season helps target distinct adaptive signals in your body.
I recommend testing your FTP every few weeks. Your zones will shift as you get stronger, and you'll need to adjust accordingly. Remember, power zones aren't just numbers – they're your roadmap to targeted, effective training. Use them wisely.
Essential Interval Training Methods
Through carefully structured intervals, you'll maximize the effectiveness of your static bike workouts. I'm here to tell you exactly how to crush your HIIT sessions with military precision. Start with a proper 4-10 minute warm-up – skipping this isn't negotiable if you want to avoid injury.
Your interval structure needs to be ruthlessly efficient. I recommend 15-20 second all-out sprints followed by 1-2 minutes of active recovery. Don't kid yourself – these sprints should hurt. Your heart rate must spike into zones 4-5 during work periods and drop to zones 2-3 during recovery. These sessions will burn significant calories in just 20 minutes compared to longer workouts. Consider incorporating 20-second sprints with 10-second rest periods to follow the proven Tabata method.
Here's what a proper HIIT sprint should feel like:
- Your legs are pistons firing at maximum capacity
- Your lungs are working like industrial bellows
- Your mind is screaming to stop (ignore it)
- Your heart's pounding like it's trying to escape
Mix up your intervals using Tabata protocols, hill simulations, and variable resistance patterns. Start with two HIIT sessions weekly, spacing them apart for recovery. As you adapt, we'll crank it up to four sessions. Remember: intensity trumps duration every time in these workouts.
Optimizing Workout Intensity

On every static bike, workout intensity determines your results. I'll tell you right now – if you're not tracking your heart rate zones, you're just spinning your wheels. Low-impact exercise makes static bikes an excellent choice for protecting your joints while getting fit.
Zone 1 (60-64% THR) is your warm-up sweet spot, while Zone 4 (85-94%) is where the magic happens for lactate threshold training. A polarized approach will give you better sprint performance than sticking to threshold work alone.
Let's talk HIIT – your new best friend. I'm prescribing 10-30 minute sessions, depending on how masochistic you're feeling. Try my favorite: Tabata-style torture – 20 seconds all-out, 10 seconds gasping for air, eight times through. Trust me, it'll torch 30% of your glycogen stores faster than you can say "what was I thinking?"
Here's the deal with progression: you can't jump straight to peak performance. Start with manageable intervals, then gradually crank up the resistance or slash those recovery times. I'm talking smart, calculated increases – not hero moves that'll land you on the sidelines.
Mix it up, too. Alternate between endurance rides, HIIT sessions, and recovery days. Your muscles will thank you, and your results will skyrocket. Remember: proper form isn't optional – it's your ticket to injury-free gains.
Tracking Progress and Results
With consistent tracking, you'll transform your static bike sessions from guesswork into measurable progress. I recommend using a chest-based heart rate monitor paired with a reliable cycling app to capture every detail of your journey. Trust me, the data doesn't lie. Setting small achievable goals helps maintain motivation while tracking your improvements over time. Tracking bike cadence levels ensures you're maintaining optimal pedaling efficiency throughout your workouts. Adjustable resistance settings can help you fine-tune your workout intensity to match your fitness goals.
Your tracking arsenal should include these fundamental metrics:
- Heart rate zones – Watch these numbers drop during steady-state efforts as your fitness improves
- Power output – Your watts tell the true story of progress, regardless of how you feel
- Distance covered in set timeframes – Track your 20-minute power tests monthly
- Recovery heart rate – Monitor how quickly you bounce back after intervals
I've found that logging workouts in a fitness journal amplifies awareness of your progress. Note everything: resistance levels, perceived exertion, and even mood. Every six weeks, recalibrate your zones through an FTP test – it's your report card for cycling fitness.
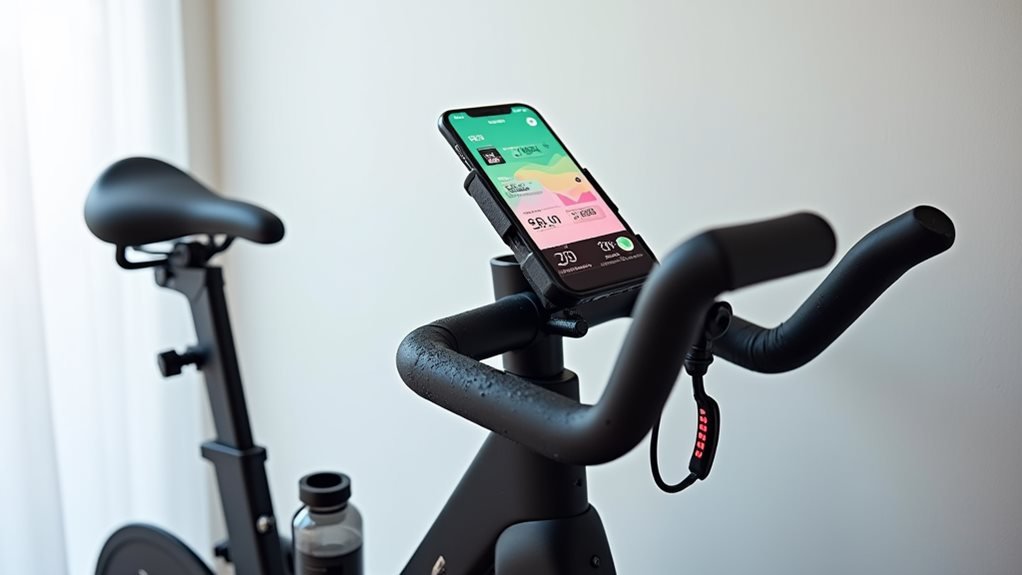
When synced with tech like Zwift or TrainerRoad, you'll get a complete picture of your training status. Remember, what gets measured gets improved, and I've never seen an athlete fail who tracked their progress religiously.
Common Mistakes to Avoid

Now that you're tracking your progress, let's address the roadblocks that could derail your static bike success. I've seen countless riders make these mistakes, and I won't let you fall into the same traps. First, you'll need to nail your intensity progression – jumping straight into high-intensity workouts is like trying to sprint before you can walk. Trust me, your body needs time to adapt. High-intensity interval training can dramatically improve muscle engagement and power output when implemented strategically.
| Mistake | Fix It Now |
|---|---|
| Too Much Intensity | Start at 60% max effort, increase 5% weekly |
| Poor Form | Align knees over pedals, engage core constantly |
| Sporadic Training | Schedule 3-4 sessions/week, stick to it |
| Workout Monotony | Mix intervals, hills, and recovery rides |
| Skipping Recovery | Plan rest days – they're when you get stronger |
Let's be clear: your success hinges on avoiding these pitfalls. I'm seeing riders neglect proper form adjustments and consistent training schedules daily. Don't be that person. Adjust your seat height, maintain proper posture, and vary your workouts. Remember, it's not just about pedaling – it's about pedaling right, consistently, and with purpose. Your static bike journey isn't a sprint; it's a strategic campaign.
Recovery Between Power Sessions
Recovery between power sessions demands three essential components: active recovery, proper nutrition, and adequate rest. I'll tell you straight – if you're not recovering properly, you're sabotaging your gains. After an intense power session, your muscles need strategic attention, not just collapse-on-the-couch rest.
Here's what your recovery routine should look like:
- 15 minutes of easy spinning at 60-70 RPM immediately post-workout to flush out metabolic waste
- 20 minutes of targeted compression work using a foam roller on your quads, hamstrings, and calves
- A protein-rich snack within 30 minutes, packing at least 20g of protein and 40g of carbs
- 7-8 hours of non-negotiable sleep that night
I'm serious about the compression work – don't skip it. Get yourself compression clothing with at least 20 mm/hg pressure and wear it during your cool-down. If you're feeling particularly beaten up, throw in some one-leg drills at low resistance to identify any compensatory patterns that might be developing. Remember, recovery isn't optional – it's where the magic happens. Your next power session depends on how well you recover from your last one.
Building Your Training Schedule
A well-structured training schedule builds on proper recovery practices to maximize your static bike workouts. I'll help you construct a program that'll transform your riding from sporadic pedaling to purposeful training.
Start with 15-minute sessions – trust me, they're more than enough for beginners. I want you doing a 5-minute warm-up, followed by alternating 1-minute intensity bursts and recovery periods. Cap it with a 5-minute cooldown. As you get stronger, we'll bump up both duration and intensity.
Here's where it gets interesting: I'm having you cycle 2-3 times weekly, with mandatory rest days between sessions. You'll mix HIIT workouts (think 20-second all-out sprints) with longer, steady-state rides. When you're ready, we'll throw in some stand-up sprints and resistance climbing.
Your goal? Hit 150 minutes of moderate-intensity work per week. I'll have you increasing workout length gradually, adding just one minute at a time. Remember, consistency trumps intensity – stick to this schedule, and you'll be amazed at how quickly your fitness improves.
Frequently Asked Questions
Can Cycling on a Static Bike Worsen Existing Back Problems?
Like adding fuel to a fire, I can tell you that static cycling absolutely can worsen back problems if you've got poor posture, incorrect bike setup, or weak core muscles.
How Often Should Bike Seat and Handlebar Positions Be Adjusted?
I recommend checking your bike's seat and handlebar positions monthly, or whenever you notice discomfort. If you've changed fitness levels or experienced weight changes, adjust immediately to maintain proper form.
Is It Normal for My Feet to Go Numb During Longer Sessions?
I recommend treating foot numbness seriously – it's not normal and often indicates poor bike fit or circulation issues. Let's adjust your setup and make sure you're wearing proper cycling footwear.
Should I Wear Cycling-Specific Shoes for Indoor Static Bike Training?
I strongly recommend cycling shoes for indoor training. They'll increase your power output, prevent numbness, provide better stability, and reduce injury risk through proper foot positioning.
Does Listening to Music Affect the Effectiveness of Power Intervals?
I strongly recommend using music during power intervals – it'll boost your peak power output, reduce perceived exertion, and help you maintain intensity. Plus, fast-tempo music improves performance by synchronizing with your movements.