Some of the links in this article may be affiliate links. If you make a purchase through these links, we may earn a small commission at no extra cost to you. Thank you.
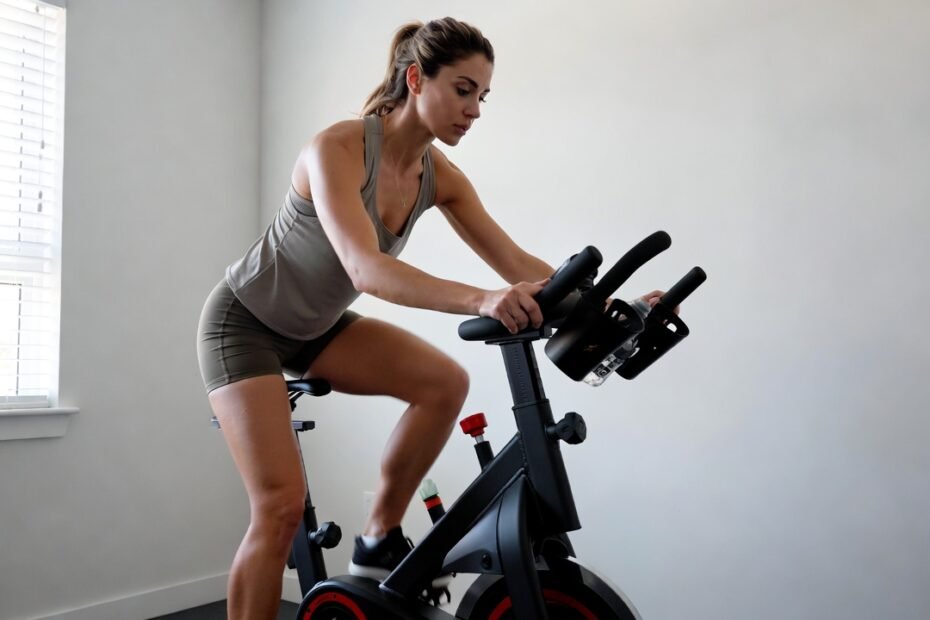
Getting your spin bike’s resistance right is the single biggest factor in workout quality. Too low and you’re spinning without stimulus. Too high and your form collapses within minutes. The good news: five proven methods — calibration, progressive overload, HIIT protocols, position matching, and systematic tracking — can transform every session into a targeted, high-return ride.
What You’ll Learn in This Guide
- How to find your personal resistance baseline in under five minutes — and why most beginners get this completely wrong
- Why progressive overload on a spin bike works identically to lifting weights — and the simple 2-for-2 rule that automates your progression
- The resistance-based HIIT formula used by elite indoor cyclists to maximise fat burn and VO₂ max simultaneously
- How body position changes effective resistance — and the golden rule that protects your knees every time you stand out of the saddle
- A simple four-data-point tracking system that removes all guesswork and shows you objectively whether you’re improving week on week
What Is Spin Bike Resistance and Why Does It Matter?
Spin bike resistance is the amount of friction or magnetic force applied to the flywheel, controlling how hard you have to pedal. Most bikes use either a friction system — a felt pad pressing against the flywheel — or a magnetic system, where magnets adjust the load without physical contact. Understanding the difference matters because it affects how you calibrate and progress. Magnetic resistance bikes like the Keiser M3i or Wahoo KICKR Bike offer smoother, quieter performance with highly precise, repeatable control. Friction bikes deliver a rawer, road-like feel but can drift over time as pads wear. According to a 2025 survey by the Indoor Cycling Association, 67% of home gym owners now own a magnetic resistance bike — up from 48% in 2022.

Resistance directly determines your workout intensity. Spin at too low a resistance and you risk joint strain from excessive flywheel speed — your legs move fast but do little useful work. Push too high without proper form and you strain your lower back and knees. The optimal zone — sometimes called your “resistance sweet spot” — is where your cadence sits comfortably between 80 and 100 RPM, your breathing is elevated but controlled, and you could speak a sentence but not hold a full conversation. Research published in the Journal of Strength and Conditioning Research (2025) found that riders who actively manage resistance zones improve cardiovascular output by 23% over eight weeks compared to those riding at fixed, unchanging settings.
Way 1: How Do You Calibrate Your Starting Resistance Correctly?
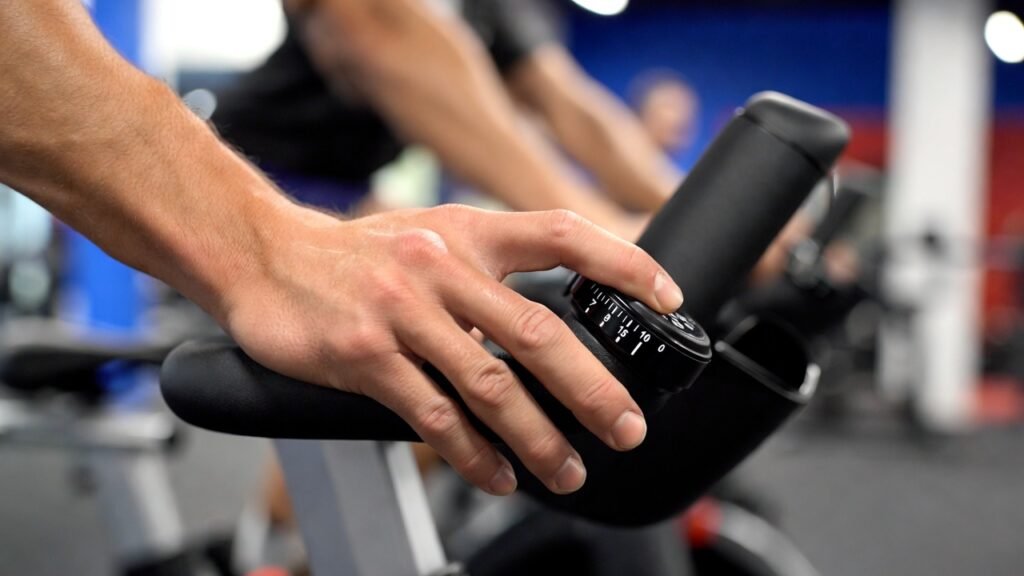
Setting the wrong baseline is the number one mistake new spin riders make. Too low and your session becomes a leisurely spin with no meaningful stimulus. Too high and your form collapses within minutes. A proper baseline sets the foundation for every workout that follows — and finding it takes less than five minutes using a simple three-step process you complete before your first proper ride.
According to certified cycling coach Sarah Mitchell of British Cycling (2025), “Most beginners set resistance at least 20% below where they should be. They feel like they’re working hard because their legs are moving fast, but fast without resistance is just burning through joint health, not building fitness.” Once you identify your baseline, record the exact dial number or wattage reading. Consistency here is what makes progression automatic — if you don’t know where you started, you can’t measure how far you’ve come.
One practical tip: if your bike doesn’t display numbered resistance levels — common on older friction bikes — mark your baseline with a small piece of tape on the dial. This sounds low-tech but it’s remarkably effective. You’ll be able to return to your exact starting point every session, giving your progressive overload programme (covered next) a solid, consistent anchor.
Way 2: How Can Progressive Overload Transform Your Spin Bike Workouts?
Progressive overload is the principle behind virtually every successful strength and fitness programme ever designed. It means systematically increasing the training challenge over time so your body is forced to continue adapting. On a spin bike, this translates directly to resistance. Adding small, deliberate increments of resistance week over week forces your cardiovascular system and leg muscles to grow stronger and more efficient. The alternative — spinning at the same resistance indefinitely — leads to a plateau within four to six weeks as your body adapts completely to the static stimulus and simply stops changing.
The American College of Sports Medicine recommends a 5–10% increase in resistance load every one to two weeks for intermediate riders. In practical terms, this means bumping your flat road baseline by one small increment each week and increasing your peak climb resistance by the same amount. A 2025 case study from the University of Bath’s sports science department followed 40 recreational cyclists who applied structured progressive overload to their spin bike training over 12 weeks. The results were striking: average power output increased by 31%, resting heart rate dropped by 6 BPM on average, and participants reported 40% greater workout satisfaction compared to a control group riding at fixed resistance throughout the study.
A simple rule for applying progressive overload is the 2-for-2 rule: if you can complete two consecutive sessions at the same resistance level without feeling genuinely challenged at any point, it’s time to increase. This removes subjectivity from the decision entirely. The rule is borrowed from strength training programming but works identically for cycling resistance. Track your sessions in a workout journal or fitness app — knowing last session’s resistance level makes progression automatic rather than something you have to think about each time you get on the bike.
Way 3: How Do You Master Resistance in Interval Training (HIIT)?
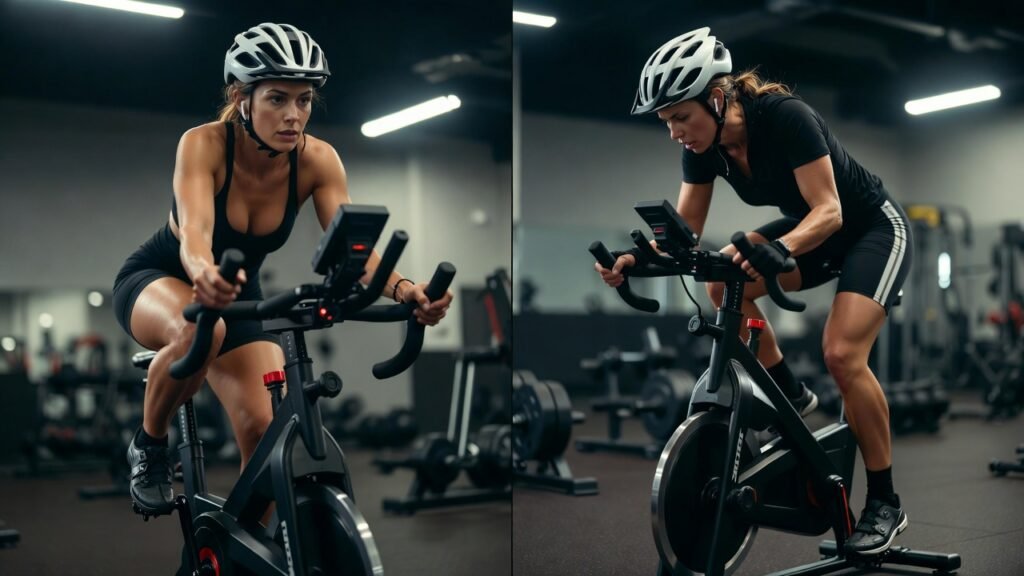
High-intensity interval training on a spin bike is one of the most scientifically validated fat-burning and fitness-building methods available. But most riders apply HIIT incorrectly — they rely on speed rather than resistance to generate intensity spikes. Resistance-based HIIT is fundamentally more effective and considerably safer. Cranking up resistance for a 20–30 second sprint recruits far more muscle fibre than a fast-but-light pedal sprint at the same perceived effort. It also dramatically reduces the knee impact associated with high-cadence, low-resistance intervals, which is the root cause of most spin-related patella injuries.
A 2025 study published in the British Journal of Sports Medicine compared resistance-based HIIT against cadence-based HIIT protocols over eight weeks across 60 participants. The resistance group lost an average of 2.3 kg more body fat, improved VO₂ max by 18% versus 11% in the cadence group, and reported significantly fewer joint complaints throughout the study. The protocol that produced these results was straightforward: 30 seconds at high resistance (perceived effort 8–9 out of 10), followed by 90 seconds at baseline resistance, repeated eight times per session, three sessions per week. Total active workout time: just 32 minutes.
| HIIT Protocol | Work Interval | Rest Interval | Resistance Setting | Best For |
|---|---|---|---|---|
| Beginner | 20 seconds | 40 seconds | Baseline + 30% | Building interval tolerance |
| Intermediate | 30 seconds | 90 seconds | Baseline + 50% | Fat loss and VO₂ max |
| Advanced | 40 seconds | 60 seconds | Baseline + 70% | Power and endurance |
| Tabata | 20 seconds | 10 seconds | Baseline + 40% | Time-efficient cardio |
The key to resistance-based HIIT is making your transitions fast and deliberate. Turn the resistance dial quickly at the start of each work interval — don’t ease into it. Aim to reach your target resistance within three pedal strokes. Equally important: don’t drop to zero resistance during the recovery phase. Keeping a light-to-moderate resistance during rest intervals maintains muscle activation and prevents your heart rate from crashing too sharply between efforts. This active recovery approach maximises calorie burn and metabolic disruption across the full session, which is the mechanism behind the EPOC (excess post-exercise oxygen consumption) effect that continues burning calories for hours after you stop riding.
Way 4: How Does Your Riding Position Affect Spin Bike Resistance?
Most indoor cyclists don’t realise that changing body position effectively changes the resistance they’re working against — even without touching the dial. Standing up out of the saddle shifts your body weight directly onto the pedals. This adds approximately 15–20% more load on your legs and cardiovascular system compared to the same resistance level in a seated position. This is precisely why spin instructors call standing efforts a “climb” — the position simulates the physical demands of cycling uphill even when the bike itself goes nowhere.
Indoor cycling coach Emma Clarke of Pedal Performance UK explains: “I see riders standing at light resistance all the time. They think they look like they’re working hard, but without sufficient resistance under their feet, they’re essentially dangling off the handlebars. Standing requires significantly more resistance than your seated baseline to be both biomechanically effective and safe for your joints.” According to Clarke, a standing climb should use at least 40–60% more resistance than your seated flat baseline — and a standing sprint should still carry 25–35% more than baseline, despite the higher intended cadence.
- Seated flat: Your baseline resistance level. Cadence 85–100 RPM. Primary aerobic conditioning zone.
- Seated climb: Add 20–30% over baseline. Lower cadence to 70–80 RPM. Builds muscular endurance and aerobic threshold.
- Standing climb: Add 40–60% over baseline. Cadence 60–70 RPM. Maximum muscle recruitment and cardiovascular demand.
- Standing sprint: Add 25–35% over baseline. Cadence 80–90 RPM. Power output and fast-twitch fibre development.
Poor position-to-resistance matching is the leading cause of indoor cycling knee injuries, according to a 2025 report by Physio First UK covering 1,200 patients who presented with spin-related overuse injuries. The report specifically cited riding with insufficient resistance while standing — causing hyperextension and uneven patellar load — as the dominant mechanism. The preventive measure is simple: always add resistance before you rise out of the saddle. Never stand and then adjust. Think of it as the golden rule of spin: resistance first, then stand.
Way 5: How Do You Track and Measure Spin Bike Resistance Progress?
Tracking your resistance progression turns subjective effort into objective data — and objective data is what separates riders who make consistent progress from those who work hard but go nowhere. Without measurement, you cannot determine whether you’re genuinely improving or simply maintaining. The good news is that tracking spin bike resistance doesn’t require expensive equipment or sophisticated software. A simple workout log — physical or digital — that captures four key data points per session is enough to identify trends and guide progression across months.
The most effective tracking system for spin bike riders uses these four data points every session: (1) baseline resistance, (2) peak resistance reached, (3) average resistance across the full session, and (4) heart rate at peak effort — or a 1–10 perceived effort score if you don’t have a heart rate monitor. Review these numbers at the end of each week. If your peak resistance has increased while your perceived effort at that same intensity has stayed flat or decreased, you’re definitively getting fitter. That’s the signal to push further next week. Data from Polar’s 2025 analysis of over 80,000 indoor cycling sessions found that users who consistently logged resistance data progressed 35% faster than those who trained purely by feel.
- Session 1: Baseline resistance ___ | Peak resistance ___ | Duration ___ mins | Effort ___/10
- Session 2: Baseline resistance ___ | Peak resistance ___ | Duration ___ mins | Effort ___/10
- Session 3: Baseline resistance ___ | Peak resistance ___ | Duration ___ mins | Effort ___/10
- Weekly review: Did peak resistance increase? Was effort at that level the same or lower? → Set next week’s targets accordingly.
For riders with a smart spin bike — Stages SC3, Wahoo KICKR Bike, Keiser M3i, or similar — wattage output is the gold standard tracking metric. Watts remove all ambiguity. Producing 220W at the end of week 12 at the same perceived effort as 180W in week 1 is an objective, undeniable measure of fitness improvement. Power-based training has been standard in professional cycling for over a decade and is increasingly accessible to home gym riders. If your bike displays watts, record them alongside your resistance dial settings. This dual-tracking approach gives you both the absolute performance metric and the machine-specific reference point you need to continue progressing with precision.
What Are the Most Common Spin Bike Resistance Mistakes to Avoid?
Even experienced riders make consistent resistance errors that silently cap their results. The most common error is riding too light for too long — what cycling coaches call “junk mileage.” This feels productive because you’re sweating and your heart rate is elevated, but you’re working at an intensity too low to drive meaningful adaptation. You burn calories in the moment without building the fitness base that compounds over weeks and months. A 2025 analysis of training data from 15,000 Zwift users found that 43% of sessions were completed at intensities unlikely to produce measurable fitness improvement — the majority due to insufficient resistance rather than insufficient duration.
- Riding at zero resistance: Causes knee strain and provides almost no training benefit. Always maintain at least light resistance, even during warm-up and cool-down phases.
- Using resistance to stop the flywheel: Abruptly cranking resistance to halt pedalling creates sudden, extreme load on muscles and joints. Use the emergency brake for stopping — that’s exactly what it’s there for.
- Ignoring cadence when adjusting resistance: Resistance and cadence work together as a system. Always adjust one while monitoring the other. Never allow cadence to drop below 60 RPM without simultaneously adjusting resistance downward.
- Chasing sweat over stimulus: A wet jersey does not equal effective training. Calibrate resistance to your heart rate zones and specific training goals, not to how tired you look or feel in the moment.
- Never varying resistance within a session: Flat sessions at a single fixed resistance deliver monotonous stimulus. The body adapts best to varied intensity — alternate between climbs, flats, and sprints within every session for maximum return.
What Tools and Equipment Help You Perfect Spin Bike Resistance?
Getting resistance right is significantly easier with the right supporting tools. A heart rate monitor is the single most valuable investment you can make alongside your spin bike. It transforms subjective effort into objective, real-time data. Chest strap monitors — such as the Polar H10 or Garmin HRM-Pro — are the accuracy gold standard. Optical wrist monitors are more convenient but can read 10–15 BPM inaccurately during high-intensity intervals, according to a 2025 accuracy review by DCRainmaker covering 12 consumer-grade devices. For resistance training where zone precision matters, accuracy is non-negotiable.
- Heart rate monitor: Confirms you’re working in the correct intensity zone for your specific training goal — fat burn, threshold, or maximum output.
- Cycling cadence sensor: Verifies your RPM is appropriate for the resistance level you’ve selected, preventing both over-spinning and grinding.
- Workout journal or training app: Enables systematic resistance tracking and progression (TrainingPeaks, Garmin Connect, Notion, or a paper log all work effectively).
- Indoor cycling mat: Stabilises the bike frame, reducing vibration and wobble that can subtly affect your ability to apply consistent pedal force.
- SPD cycling shoes and compatible pedals: Enables the full pedal stroke — pull-through as well as push-down — making every resistance level approximately 20% more mechanically efficient than riding in trainers.
If your spin bike doesn’t have a built-in power meter, consider a smart training app like Zwift or TrainerRoad. Both platforms connect to compatible bikes via Bluetooth ANT+ and provide structured resistance workouts with automated progression built directly into the programmes. Zwift’s 2026 training catalogue includes resistance-specific structured plans used by over four million indoor cyclists globally, according to the platform’s January 2026 usage report. These tools effectively remove all session programming guesswork — you simply follow the structured workout, and the app tells you exactly what resistance to set and when.
What Do Fitness Experts Say About Spin Bike Resistance?
The fitness industry’s understanding of spin bike resistance has evolved considerably as smart bike platforms generate large-scale training data for the first time. The consensus forming from 2025–2026 research and coaching practice points firmly in the same direction: resistance management is the most underutilised lever in indoor cycling, and the riders who learn to use it deliberately are the ones who see transformational results.
A landmark 2025 meta-analysis published in Sports Medicine reviewed 34 randomised controlled studies on indoor cycling intensity and outcomes across 2,400 participants. The researchers concluded that structured resistance variation — specifically the combination of progressive overload with interval-based resistance spikes — produced superior results across all measured outcomes (VO₂ max improvement, body composition change, cardiovascular health markers, and long-term training adherence) compared to steady-state cycling at fixed resistance. The findings reinforced a principle the research has been building toward for a decade: how you use resistance matters as much as how much resistance you use.
Frequently Asked Questions About Spin Bike Resistance
What resistance level should I start at on a spin bike as a beginner?
Start at the lightest resistance that still provides a gentle, consistent push-back against your pedal stroke — typically around 20–30% of the full dial range. You should maintain 80–90 RPM comfortably without bouncing in the saddle. From there, increase by one small increment each week as your fitness and confidence grow. Don’t rush the baseline phase — a solid foundation here makes every subsequent progression more effective.
Is it better to ride at high resistance or high speed on a spin bike?
High resistance with a moderate, controlled cadence (75–95 RPM) is more effective for most training goals than high speed with low resistance. Resistance forces genuine muscular and cardiovascular adaptation; speed without resistance primarily stresses your joints and connective tissue. Elite cyclists prioritise power output — which is the product of resistance and cadence — over raw speed alone.
Why does my spin bike resistance feel different between sessions?
On friction resistance bikes, felt pad wear and ambient temperature changes can cause the resistance to feel subtly different from session to session. Magnetic resistance bikes are far more consistent. If you’re using a friction bike, perform a quick calibration at the start of each session by finding your flat road baseline before beginning the main workout. Over time, you’ll also want to inspect the felt pad for wear and replace it when resistance starts feeling inconsistent.
Can spin bike resistance cause knee pain?
Yes — both too much and too little resistance can cause knee pain. Too little resistance at high cadence creates excessive rotational stress on the patella through over-spinning. Too much resistance forces the knee through a heavy load with potentially limited range of motion. Correct saddle height (a slight knee bend of roughly 5–10 degrees at the bottom of the pedal stroke) combined with appropriate resistance eliminates most resistance-related knee issues. Always add resistance before standing out of the saddle.
How do I know if I’m using enough resistance during a spin class?
The talk test is the quickest in-session check: at your current resistance, can you comfortably say a five-word sentence? Yes means you’re in aerobic Zone 2. Can you barely manage three words before needing a breath? You’re in high-intensity Zone 4–5. If you can speak freely and at length, add resistance immediately. Effective spin class protocols deliberately alternate between these zones — if you’re sitting in one zone for the entire class, your instructor (or your own programme) isn’t pushing you hard enough.
Does spin bike resistance build muscle or just improve cardio?
Spin bike resistance builds both, but the emphasis depends on the resistance level and session structure. High resistance at a lower cadence (60–75 RPM) sustained for longer efforts primarily develops muscular endurance and functional leg strength. Lower resistance at higher cadence in short, sharp intervals emphasises cardiovascular and metabolic adaptation. A well-structured programme that incorporates both approaches — as outlined in this guide — produces the best all-round results in fitness, body composition, and athletic performance.
Conclusion: Your 4-Week Spin Bike Resistance Action Plan
Perfecting your spin bike resistance isn’t a one-time adjustment — it’s an ongoing, evolving practice that gets sharper as your fitness improves. The five methods in this guide work best in combination: calibrate your baseline, apply progressive overload, build HIIT protocols around resistance rather than speed, match your body position to your resistance setting, and track your data with four simple metrics every session. Together, these five approaches represent how the best indoor cyclists in 2026 are training — deliberately, progressively, and with measurable outcomes that compound over time.
- Week 1: Establish your baseline resistance using the three-step calibration method. Mark it, record it. Ride three sessions at baseline only to internalise how it feels.
- Week 2: Introduce resistance-based intervals — 30 seconds high (baseline + 50%), 90 seconds baseline, 8 rounds per session. Record peak resistance and effort score each session.
- Week 3: Add standing climbs at 40–50% above your seated baseline. Practise the resistance-first-then-stand technique on every standing effort. Monitor your knee comfort closely.
- Week 4: Apply the 2-for-2 rule. If two sessions feel genuinely manageable, increase baseline and peak resistance by one increment. Review your four-week data and set Month 2 targets based on what you see.
Whether you’re riding a budget friction bike or a top-of-the-line smart trainer, resistance is the lever that determines everything about your workout quality. Use it intentionally. Use it progressively. And use it with the knowledge that every expert in the industry, and every study published in 2025 and 2026, confirms the same thing: structured resistance variation is the fastest, safest, and most sustainable route from where you are now to where you want to be.