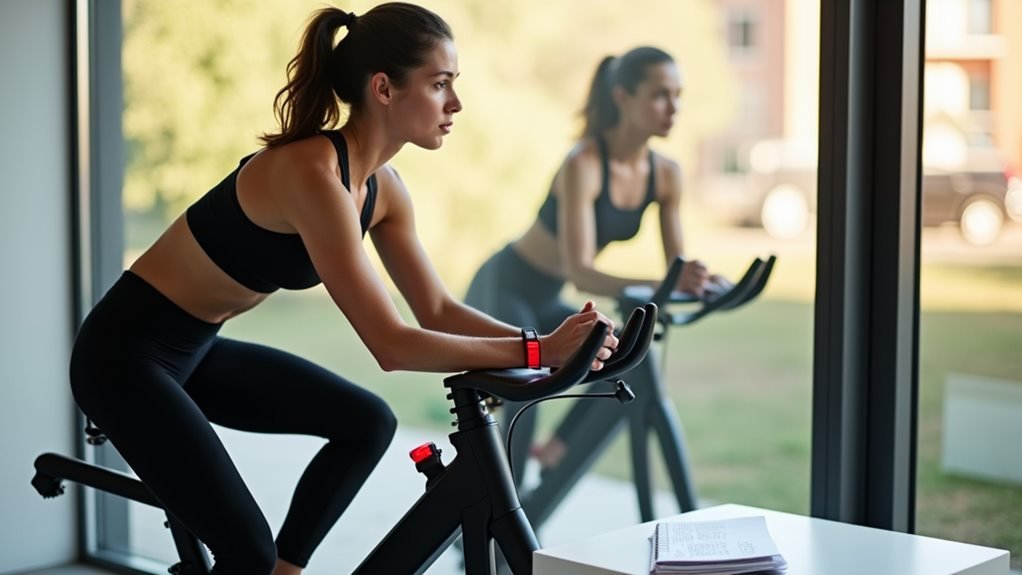
Whether you're a novice cyclist seeking indoor training options or an experienced rider looking to maintain fitness year-round, I've found that static bikes offer an accessible and effective path to building confidence. The combination of controlled conditions, variable resistance settings, and immediate feedback makes static bikes an ideal choice for developing both physical strength and mental resilience. I understand the hesitation many feel when first approaching these machines, but I'll share proven strategies that transformed my own journey from uncertainty to mastery, and they'll do the same for you.
Some of the links in this article may be affiliate links. If you make a purchase through these links, we may earn a small commission at no extra cost to you. Thank you.
Key Takeaways
- Start with shorter, low-intensity sessions focused on proper form to build a strong foundation and prevent injury.
- Use proper bike setup and positioning to ensure comfort and confidence during workouts from day one.
- Gradually increase workout duration and resistance levels as your skills and endurance improve.
- Mix different workout intensities to maintain engagement and track progress through measurable improvements.
- Maintain consistent training frequency with three weekly sessions rather than sporadic intense workouts.
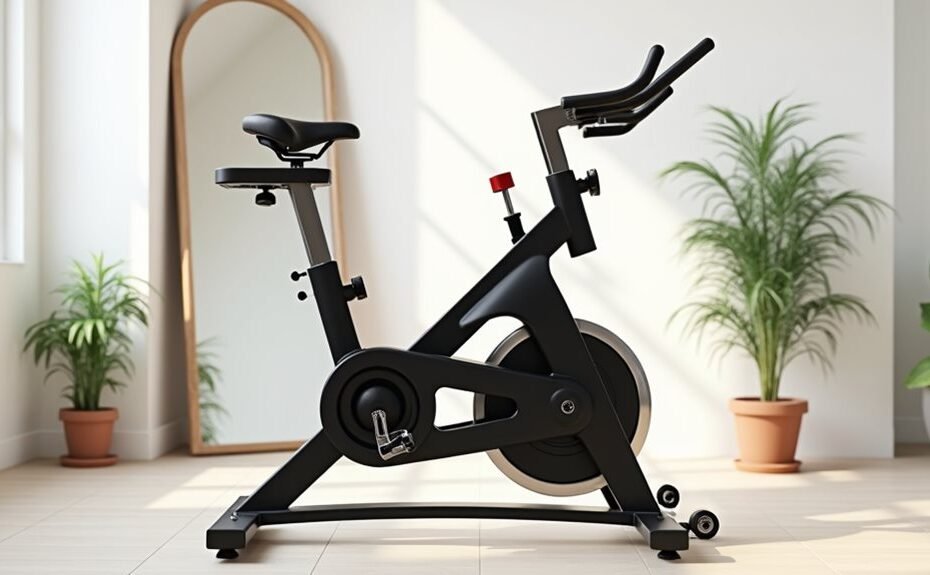
Choosing Your Perfect Static Bike
Success in finding your ideal static bike begins with understanding the diverse options available. I'll break this down into bite-sized choices you can't mess up.
First, match your bike type to your fitness goals – indoor cycling bikes for high-intensity warriors, upright bikes for core engagement seekers, and recumbent bikes for those prioritizing joint comfort. The YOSUDA Indoor Cycling proves you can get quality without breaking the bank. These bikes typically feature chain-driven drivetrains that provide smooth pedaling motion. Recumbent bikes offer low-impact cardio for users seeking gentler workout options.
Don't skimp on resistance mechanisms – magnetic systems are your friend if you hate noise. Trust me, your neighbors will thank you.
Your body's unique dimensions matter, so look for models with adjustable everything: seat, handlebars, and pedals. It's not just about comfort; it's about injury prevention.
Your budget dictates your tech options. Basic models start around $200, while premium smart bikes can hit $2,000+. Here's the kicker – some require subscriptions for full functionality. But don't let that scare you off. Mid-range options like the Echelon EX3 deliver solid value without requiring a second mortgage.
Consider assembly complexity too – that gorgeous NordicTrack won't assemble itself, and moving a 150-pound beast isn't a solo mission.
Starting Small and Smart
Now that you've got your static bike, let's focus on building your confidence the right way. I'm going to show you how to start small and build lasting success through smart, systematic training. Trust me – those 15-minute sessions will become your secret weapon.
Here's your battle plan: Start with a 5-minute warm-up at an easy pace. I want you riding at a speed where you can still hold a conversation. Then, alternate between 1-minute periods of slightly increased intensity and 1-minute recovery periods. Think of it as teaching your body to adapt without overwhelming it. Finish with a 5-minute cooldown to let your system reset properly. Incorporating these varied intensity levels prevents workout plateau and keeps your sessions engaging. Breaking up the distance will help you stay motivated and maintain proper form throughout your workout.
I'll be blunt – consistency trumps intensity every time. You'll get far better results from three 15-minute sessions per week than one marathon monthly ride. As your confidence grows, we'll gradually increase duration and intensity.
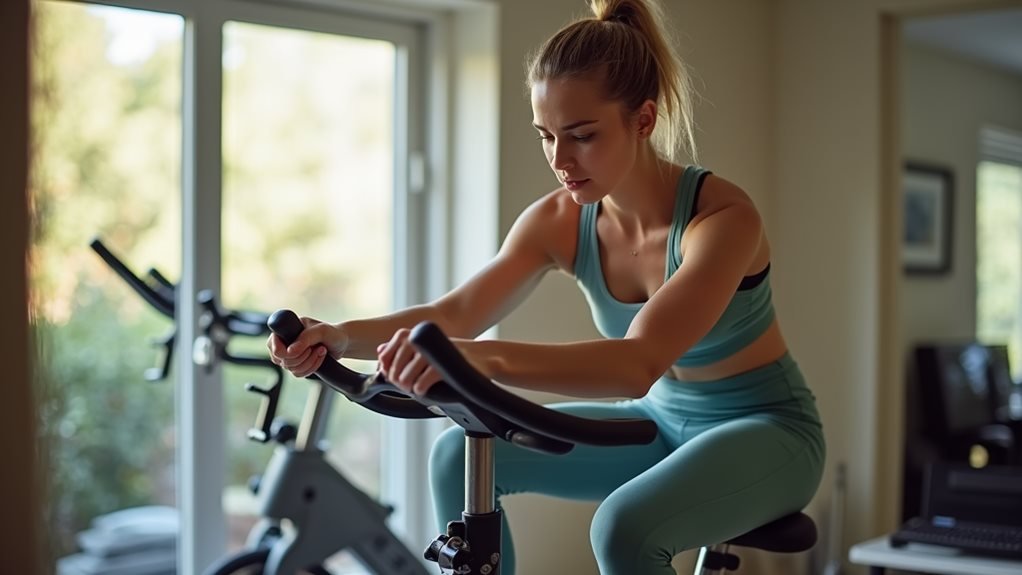
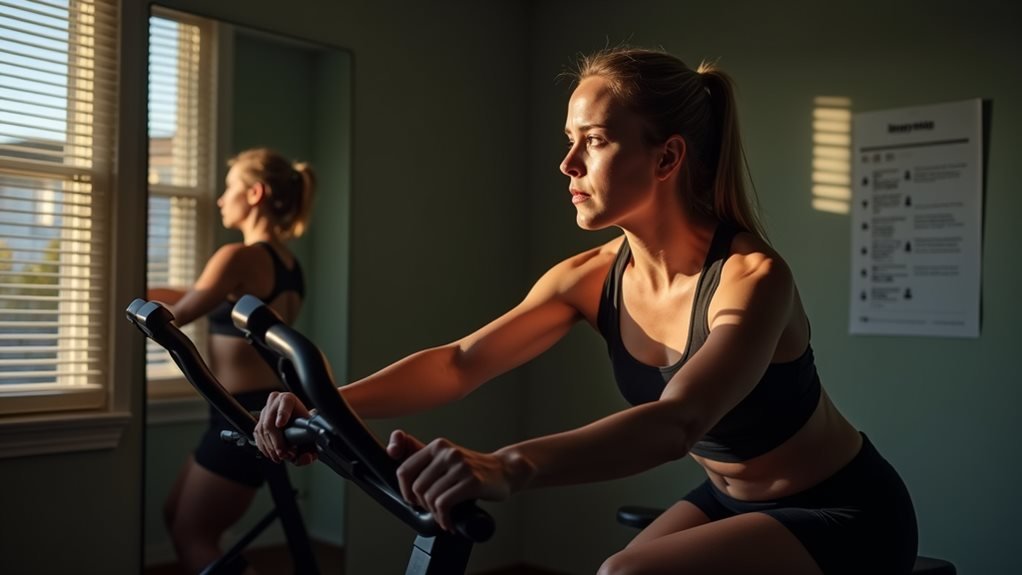
Setting Up Your Bike
Getting your static bike properly adjusted is essential for both comfort and performance. I'll help you nail down the perfect setup, starting with saddle height. Trust me, you'll want this aligned with your hip bone when you're standing next to the bike. Adjustable bike features can help accommodate different body types and ensure optimal comfort.
When adjusting the pedals, make sure to position the balls of feet securely in the straps. Let's tackle saddle positioning next. When you're seated with feet on the pedals at 3 and 9 o'clock, your front knee should hover directly above the pedal's center. If it doesn't, slide that saddle forward or back until it does. It's not rocket science, but it matters. Taking time for a quick fit test can help ensure proper positioning before your workout.
Now for those handlebars – they should sit level with or slightly higher than your saddle. If you've got back issues, go ahead and raise them higher. I want you positioned with a slight forward lean, elbows bent, and shoulders relaxed. No hunching allowed.
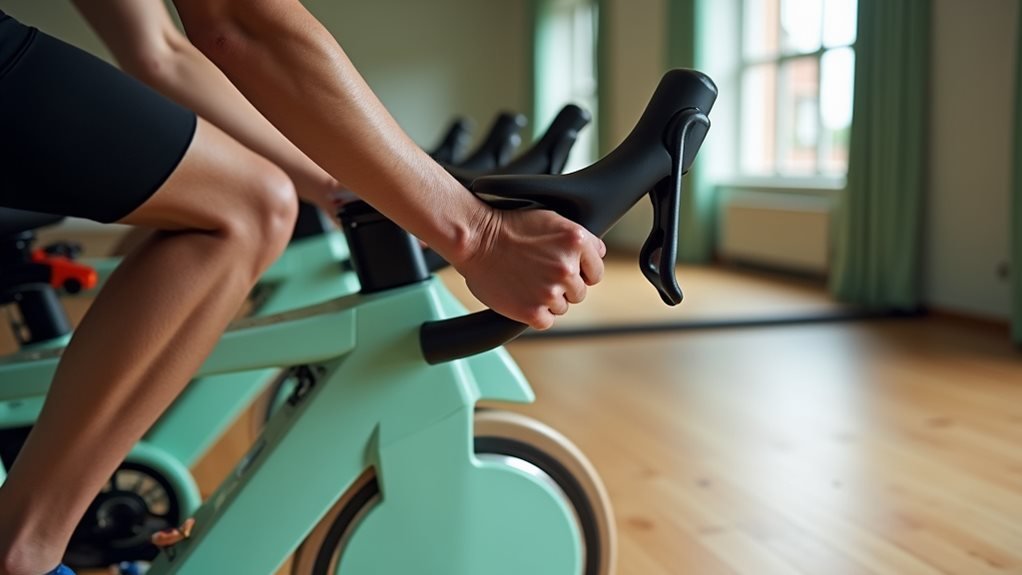
Understanding Resistance and Cadence
Building a solid understanding of resistance and cadence can transform your static bike workouts from basic pedaling to purposeful training sessions. I'll break down the three main resistance types you'll encounter and how they'll impact your training. Air resistance technologies actually provide a dynamic and responsive workout experience that can enhance overall cycling performance.
| Resistance Type | Best For | Key Benefit | Main Drawback |
|---|---|---|---|
| Magnetic | Quiet Training | Low Maintenance | Higher Cost |
| Friction | Budget Focus | High Resistance | Needs Regular Upkeep |
| Air | Natural Feel | Speed-Based Challenge | Limited Control |
Let's cut to the chase – if you're serious about indoor cycling, magnetic resistance is your best bet. You'll get whisper-quiet operation and precise control over your workout intensity. Sure, it'll cost more upfront, but you won't be replacing brake pads every few months. Progressive resistance levels allow you to perfectly match the intensity to your fitness goals. The advanced engineering used in magnetic systems ensures exceptional durability and performance.
For HIIT warriors, friction resistance delivers that gut-punching intensity you're after. Just be prepared for some noise and maintenance. Air resistance? It's perfect if you want your effort to directly match your output – pedal harder, feel more resistance. Simple as that. Choose based on your training style, budget, and tolerance for maintenance. Trust me, getting this right makes all the difference.
Creating Your Personal Training Plan
Once you're comfortable with resistance and cadence, it's time to map out your personal training journey. I'll help you structure your workouts for maximum impact, starting with three sessions per week if you're new to indoor cycling. Using an FTP test assessment will help determine your ideal training zones. Trust me – you'll want to begin with 30-minute rides and gradually work up to hour-long sessions.
Let's get specific about your training mix. You'll need endurance rides to build your foundation – these are your bread-and-butter workouts where you'll maintain steady effort while focusing on form. Focus on maintaining proper gum-off-the-shoe technique to optimize your pedaling efficiency.
I'm also throwing in strength and hill sessions because they're non-negotiable for building power. Start with basic resistance training, then progress to alternating between seated and standing positions.
Don't even think about skipping your cool-down – it's five minutes that'll save you from unnecessary soreness.
I'm also making core work mandatory. Why? Because a strong core equals better cycling form and fewer injuries. Hit those planks and leg raises for 30 seconds each, three times through. Your future self will thank me for this structured approach to training.
Mental Preparation and Goals
Your mind's readiness matters just as much as your physical preparation when tackling indoor cycling. I'll teach you proven mental techniques that'll transform your static bike sessions from mere workouts into powerful confidence-building experiences.
Start with positive self-talk – it's your internal cheerleader. When that voice says "I can't," counter it with "I'm getting stronger with every pedal stroke." I've seen riders completely transform their performance just by reframing nervousness as excitement.
Visualization isn't just daydreaming – it's mental rehearsal. Picture yourself excelling in that next interval while focusing on every sensation: the burn in your legs, your steady breathing, the sweat on your brow.
Break down your rides into manageable portions – it's less intimidating that way.
Set clear, specific goals for each session. Don't just hop on the bike; have a plan. Count your pedal strokes, focus on your breathing, or let your mind wander to pleasant scenarios when the going gets tough. These aren't just feel-good techniques – they're scientifically proven methods that'll boost your performance and keep you coming back for more.
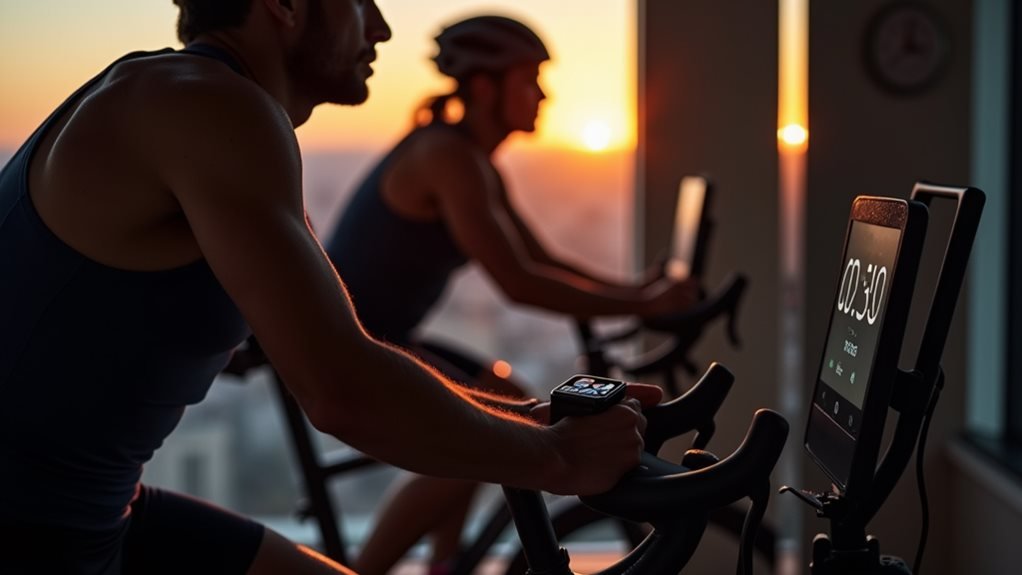
Building Endurance Through Progression
Now that you've mastered the mental game, let's strengthen your physical capabilities through smart progression. I'll show you how to build lasting endurance without burning out or plateauing – because there's nothing worse than spinning your wheels, literally.
Start by incorporating interval training into your routine. I'm talking about strategic bursts of high-intensity effort followed by recovery periods. Trust me, this approach will skyrocket your cardiovascular fitness and keep your body guessing. Don't worry about going all-out immediately; we'll build up to that.
Here's your game plan: Begin with manageable 20-minute sessions at low intensity. Each week, I want you to add five minutes to your ride time or bump up the resistance slightly – not both.
Mix in different workout types to keep things interesting. Try endurance rides on Mondays, HIIT sessions on Wednesdays, and recovery rides on Fridays. And remember: proper form is non-negotiable. Keep that spine neutral, shoulders relaxed, and focus on smooth, circular pedal strokes.
Watch your progress explode as you systematically challenge your limits. You'll be amazed at how quickly your endurance builds.
Tracking Progress and Achievements
Through consistent tracking and measurement, you'll transform your static bike sessions from casual workouts into data-driven success stories. I recommend leveraging your bike's built-in metrics – distance, calories, heart rate – to establish clear benchmarks. Trust me, there's nothing like hard data to prove you're crushing it.
Let's get tactical about your victories. I want you to celebrate every single milestone, whether it's completing that brutal HIIT session or finally hitting your target watts. Set up a reward system that works for you – I've seen remarkable results when riders treat themselves after reaching specific goals.
Here's a pro tip: visualize your success before you even clip in. I'm talking about mental rehearsal – picture yourself conquering that challenging interval, feel the resistance, imagine the triumph. It's not just feel-good fluff; it's science-backed performance enhancement.
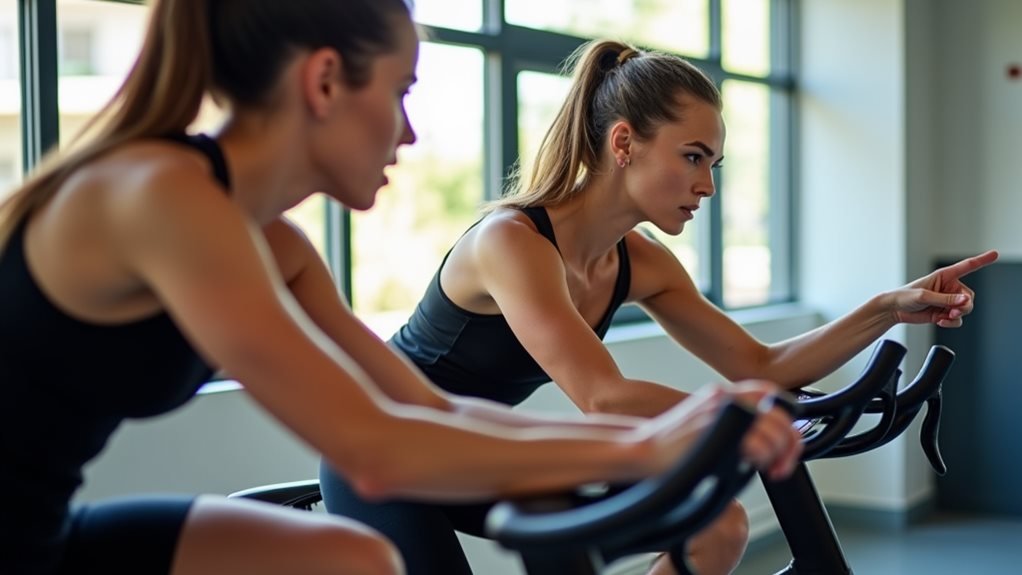
Don't go it alone, either. Join a community of fellow riders who'll celebrate your wins and push you further. I've watched countless cyclists exceed their own expectations simply by tapping into group energy and shared accountability.
Frequently Asked Questions
How Long Should I Wait After Eating Before Starting a Static Bike Workout?
While you might want to jump right on, I'd recommend waiting 2-3 hours after a full meal, 1-2 hours after a moderate meal, or 30 minutes after a light snack.
Can Cycling on a Static Bike Cause or Worsen Lower Back Pain?
Yes, I can confirm that static bike cycling can cause or worsen lower back pain if you're using poor posture, incorrect bike setup, or overtraining without proper core strength and flexibility.
Should I Wear Cycling Shoes or Are Regular Sneakers Good Enough?
I just switched to cycling shoes and noticed a huge difference. They'll give you better stability, power transfer, and reduce injury risk compared to sneakers' flexible soles.
How Often Should I Perform Maintenance on My Static Bike?
I'd follow a simple schedule: clean and check daily for issues, do a deeper inspection weekly, lubricate monthly, and get professional servicing annually. Regular maintenance keeps your bike safe and performing well.
Is It Normal for My Seat to Feel Uncomfortable During Longer Rides?
While initial discomfort is normal, I'd recommend checking your saddle fit and position. You'll adapt over time, but wearing proper cycling shorts and taking brief standing breaks helps immensely.